

RUDY rudolf decorations
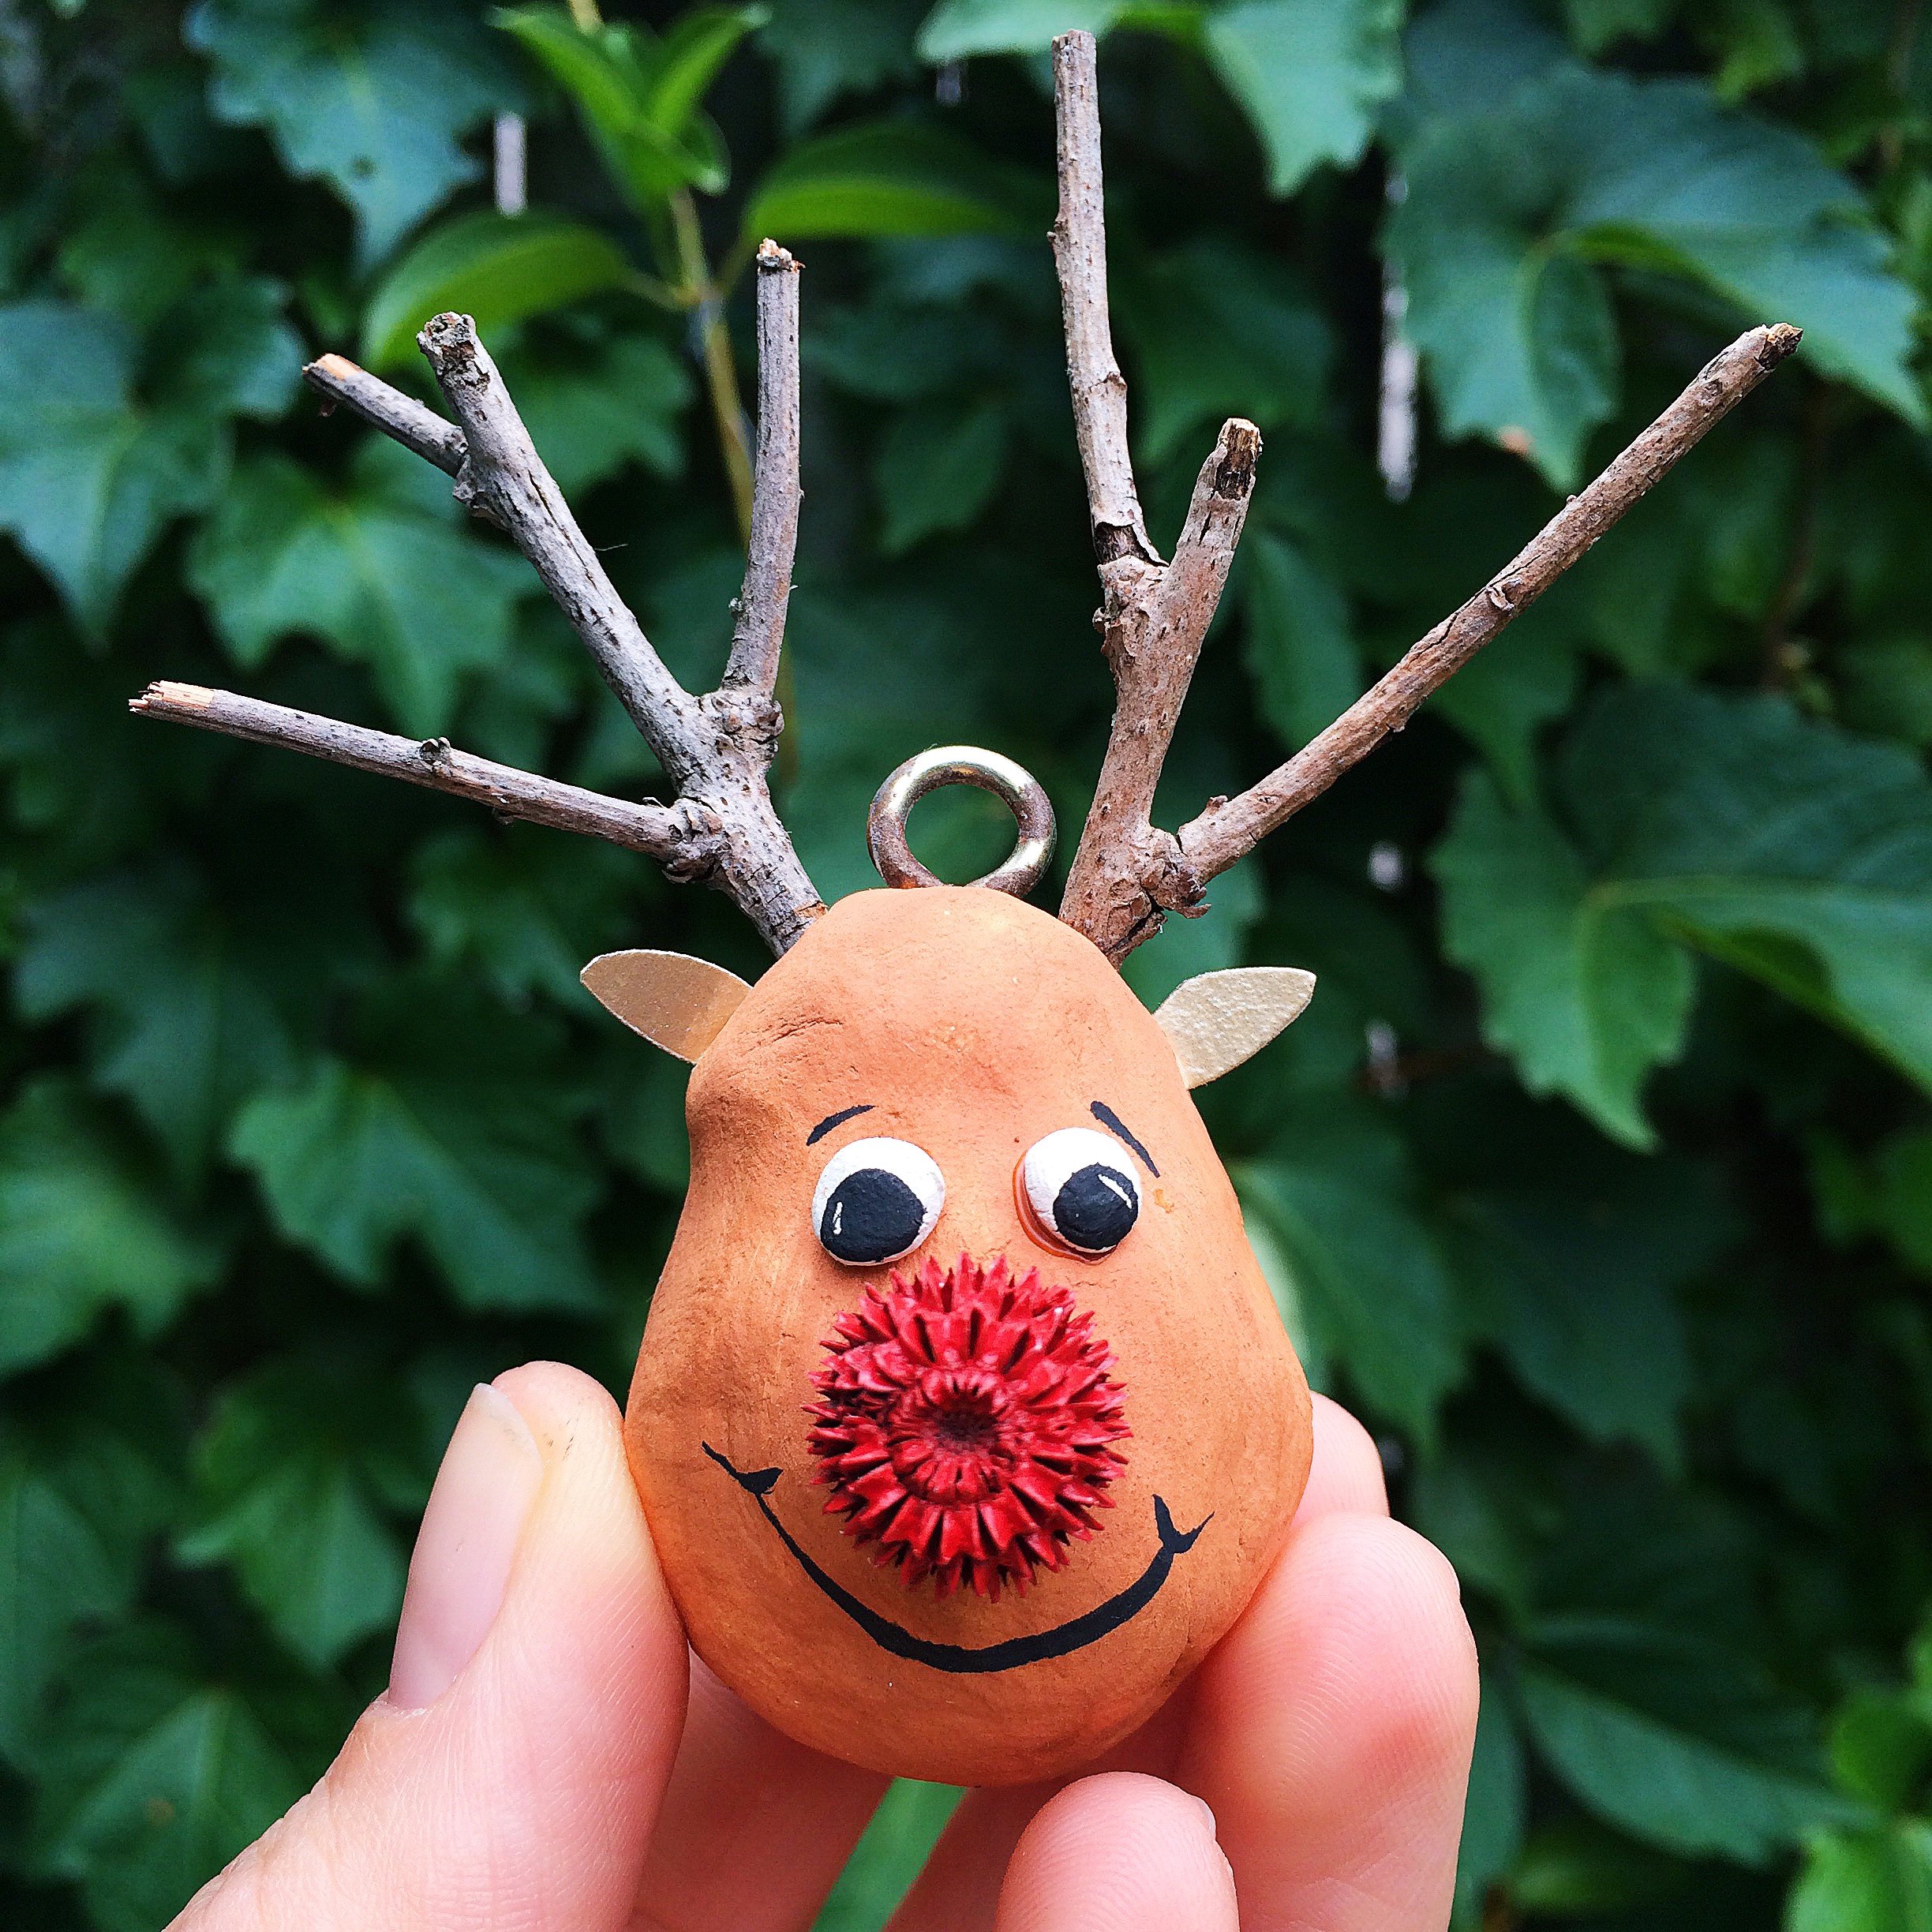
I am a total sucker for Christmas decorations but I have a particular fondness for Reindeers.
Rudy here is a fun and surprisingly easy project that with a few modifications is suitable for about 3+.
WHAT YOU NEED
- Some forked twigs
- A piece of string
- A tree nut/seed pod thing (I have NO IDEA what the ones I used are called)
- Paint
- An eye hook
- A piece of string
- Air dry clay
- A scrap of cardboard (gold if possible)


TO MAKE
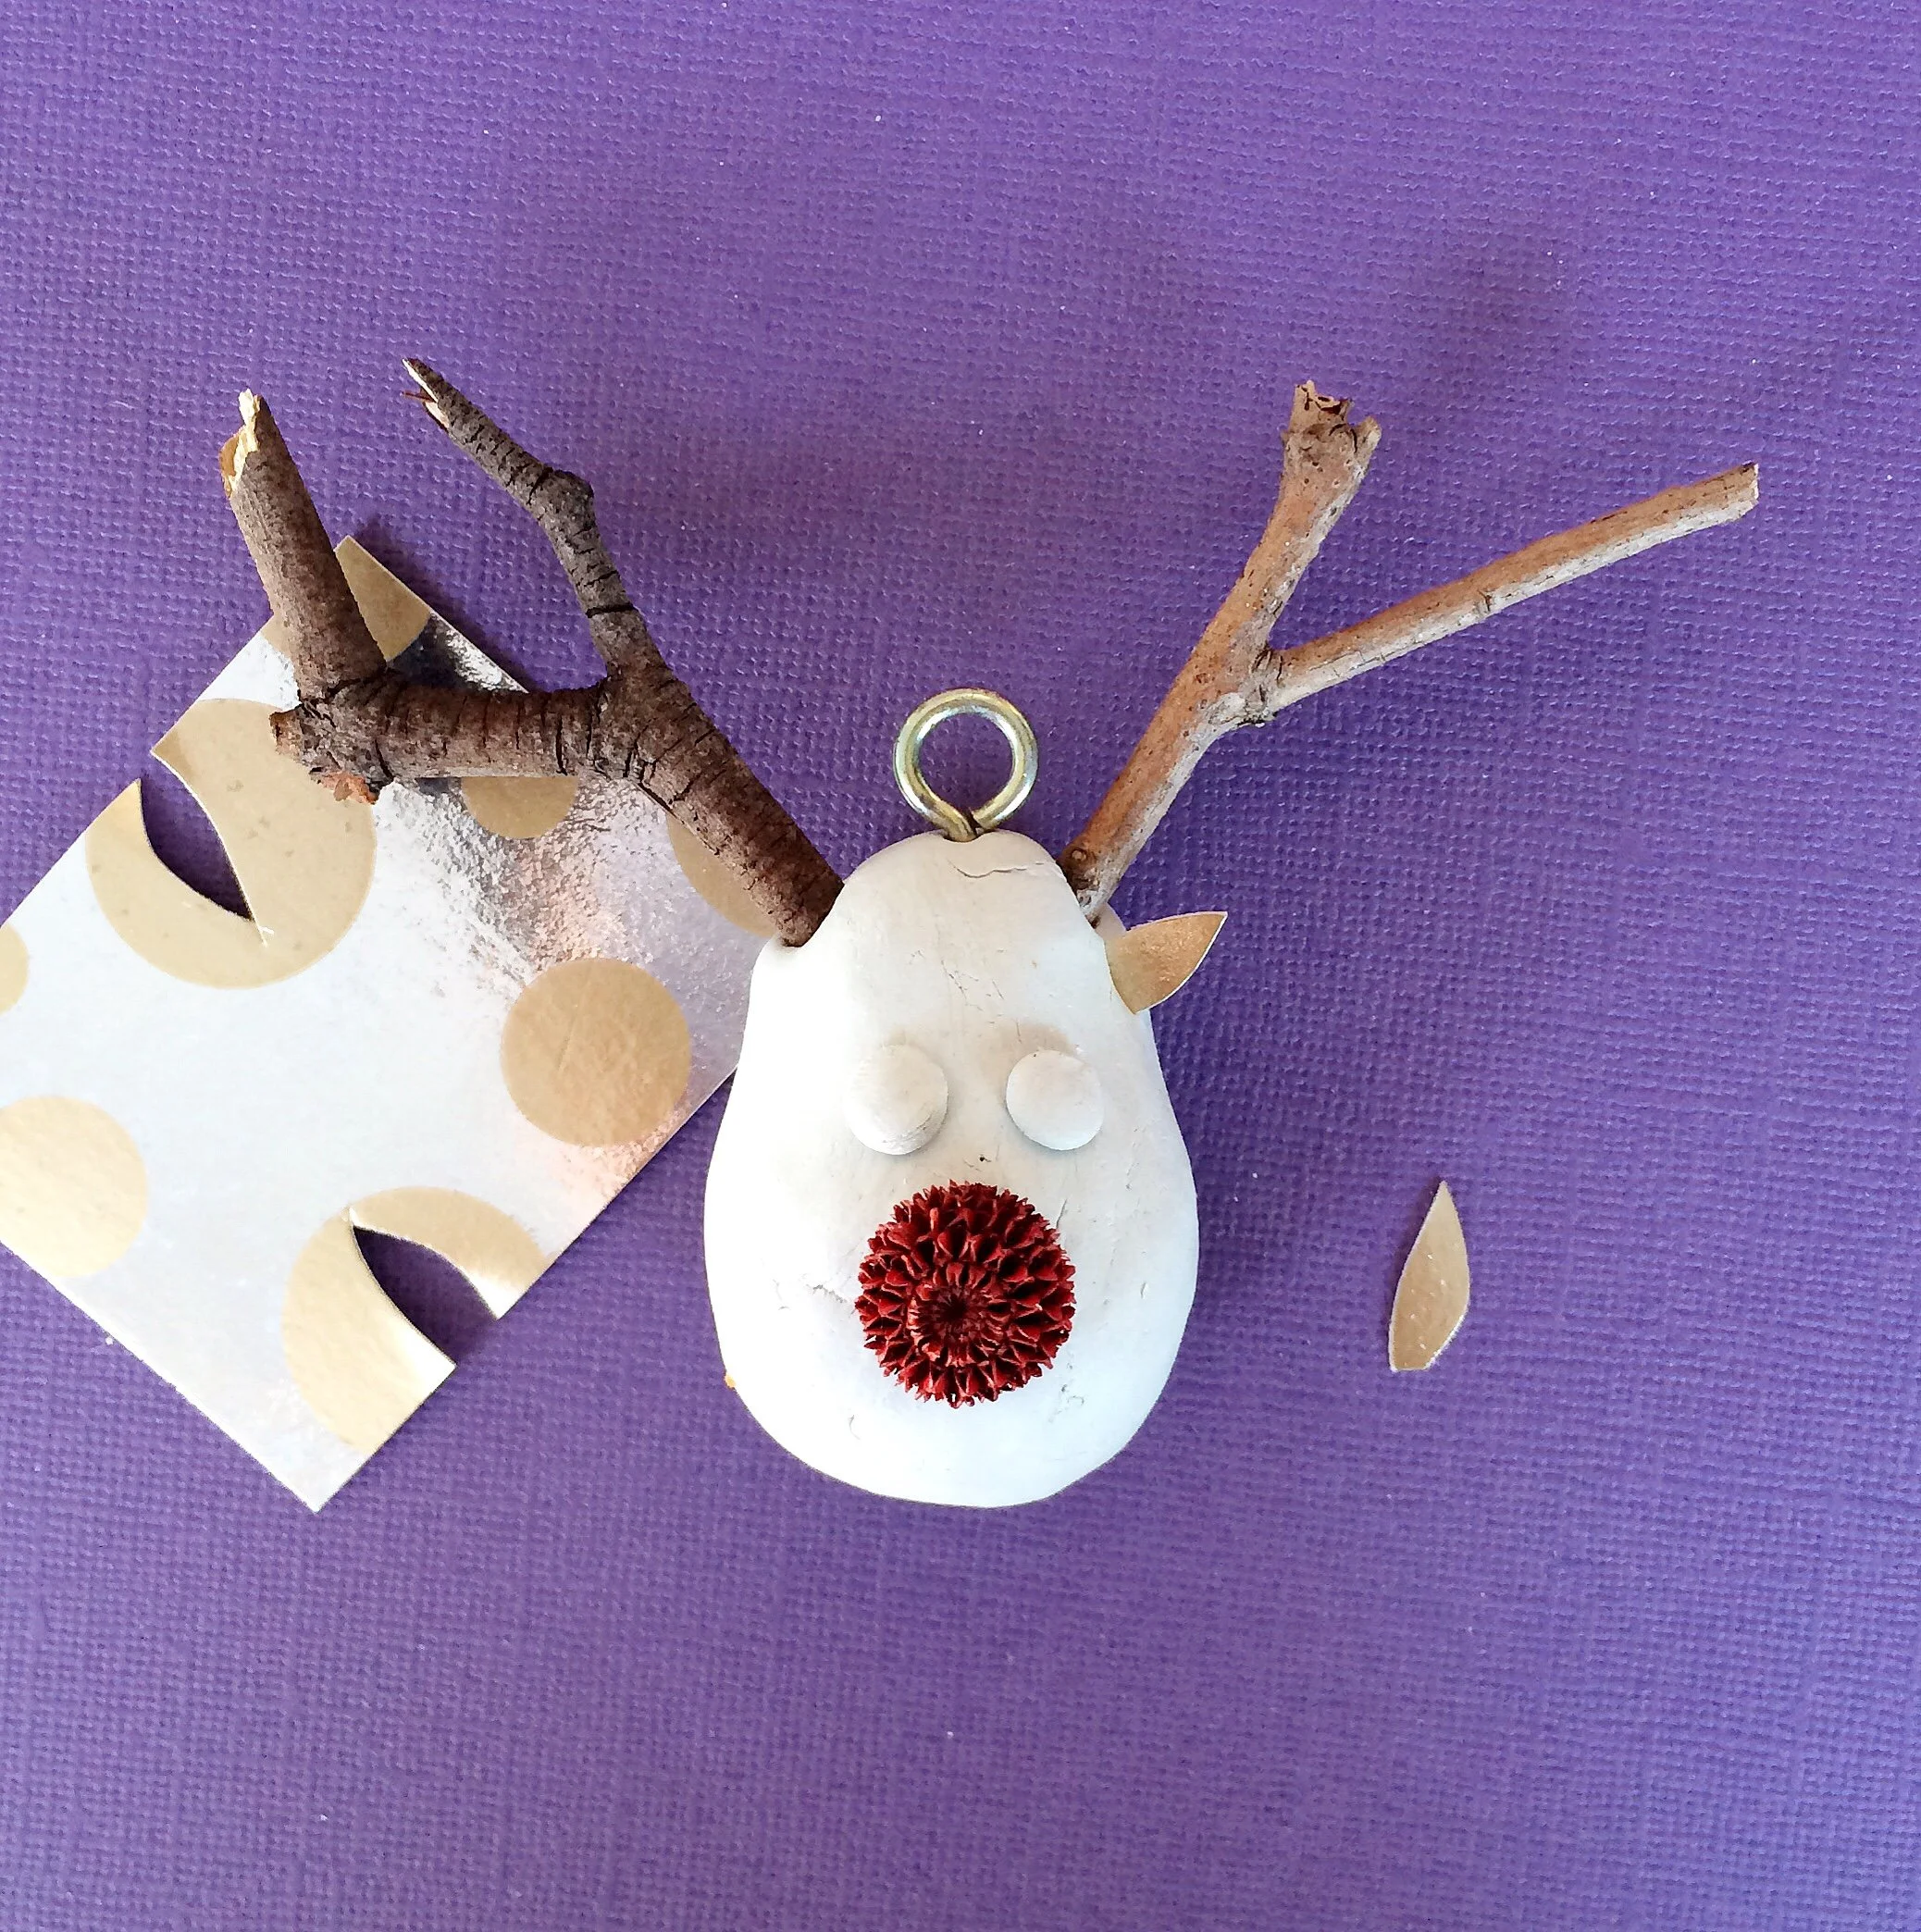
1. Start with a ball of clay that fits nicely in the palm of your hand.
2. Gently form the ball so that it is narrower up the top and fatter down the bottom. Kind of like a pear shape.
3. Press in the tree nut nose.
4. Insert the eye hook in the top of the head.
5. Insert the antler twigs either side of the eye hook.
6. Cut some small ears and insert these underneath the antlers on either side.
7. Roll two small balls of clay and stick these above the nose. If they fall off when the piece is drying just stick them back on with glue before you start painting.
MODIFICATION FOR SMALLER KIDS
7a. Painting the eyes is the hardest part of the project. For small kids, skip this step and then later on when we are painting the eyes, just stick on some googly ones.
8. Leave to dry for 24-48 hours depending on the climate where you live.


9. Paint the face brown. We used Koh-I-Noor watercolour discs from Cleverpatch which worked beautifully and were not too messy.
10. Using a very fine brush, paint the eyes and mouth.
11. To finish, add a string, hang and enjoy!

The below Rudolf was made by Finn (4.5 years) with next to no assistance apart from the cutting of the ears. I think I like his even better than mine!
