Completely OTT recycled plastic wreath
I really do love wreaths. I love them all. From the simplest to the most over-the-top. This is definitely in the OTT spectrum.
The basic instructions could go: Gather a load of plastic bottles and lids, chop them up, paint them and stick them on a cardboard ring. It honestly looks more complicated than it is.
It isn’t really a kids project though, as cutting the bottles requires sharp scissors or a blade and the best paint to use is spray paint. If you went with regular paint you could definitely get kids involved but you wouldn't get a really vibrant paint finish. I did use poster paint for the pink and light green bits but I had to give them a few coats and then cover them in Modge Podge to seal them.
You need A LOT of plastic bottles and lids for this one, so start collecting for a while before you make this, or prepare to go bin diving on recycling night.
What you need:
A mountain of plastic bottles, tubs and lids, any kind will do. The 1ltr bottles work best though
Spray paint in assorted colours
Sharp scissors and a blade
A large piece of cardboard or board
A protractor
Some string
Hot glue (quite a lot)
The bottles:
Cut each of the bottles you have in half. You should be able to use both the top and bottom piece of the bottles depending on their size and shape. The shape you cut is really up to you but undulating shapes and flowers work well. A blade is useful for cutting the bottles in half but scissors are better for cutting the shapes.
Make a few pieces that are extra fancy. For a bouncy, slinky effect like the one above, cut the bottle in half as normal and then start cutting from the rim in a spiral until a few cm from the end of the bottle. The more you cut, the longer your spiral will be.
For the large flowers, cut the bottom of the bottle off about 1/4 of the way from the end. Cut long petals all the way around and then bend back to make the 'petals' fan out.
Save your off-cuts too, as these can create interesting layer effects in your plastic blooms when you come to assemble it all.
The lids”
All kind of lids will do. Try to use a mix of different shapes and sizes. You don’t really need to prepare these in any way other than giving them a wash.
Painting:
Spray painting is by far the best and quickest option to paint your pieces. Make sure you have a mix of different bits & bobs in each colour.
You can paint with house paint or poster paint but it will take much longer and the coverage won’t be as great. I painted some of mine with poster paint in pastel colours (white has better coverage) but they required a few coats plus a coat of Modge Podge to stop the paint just chipping straight off. If you want to get kids involved in this step you could try spray painting with a base coat and then inviting the kids to paint or splatter with non toxic paint over the top.
The base:
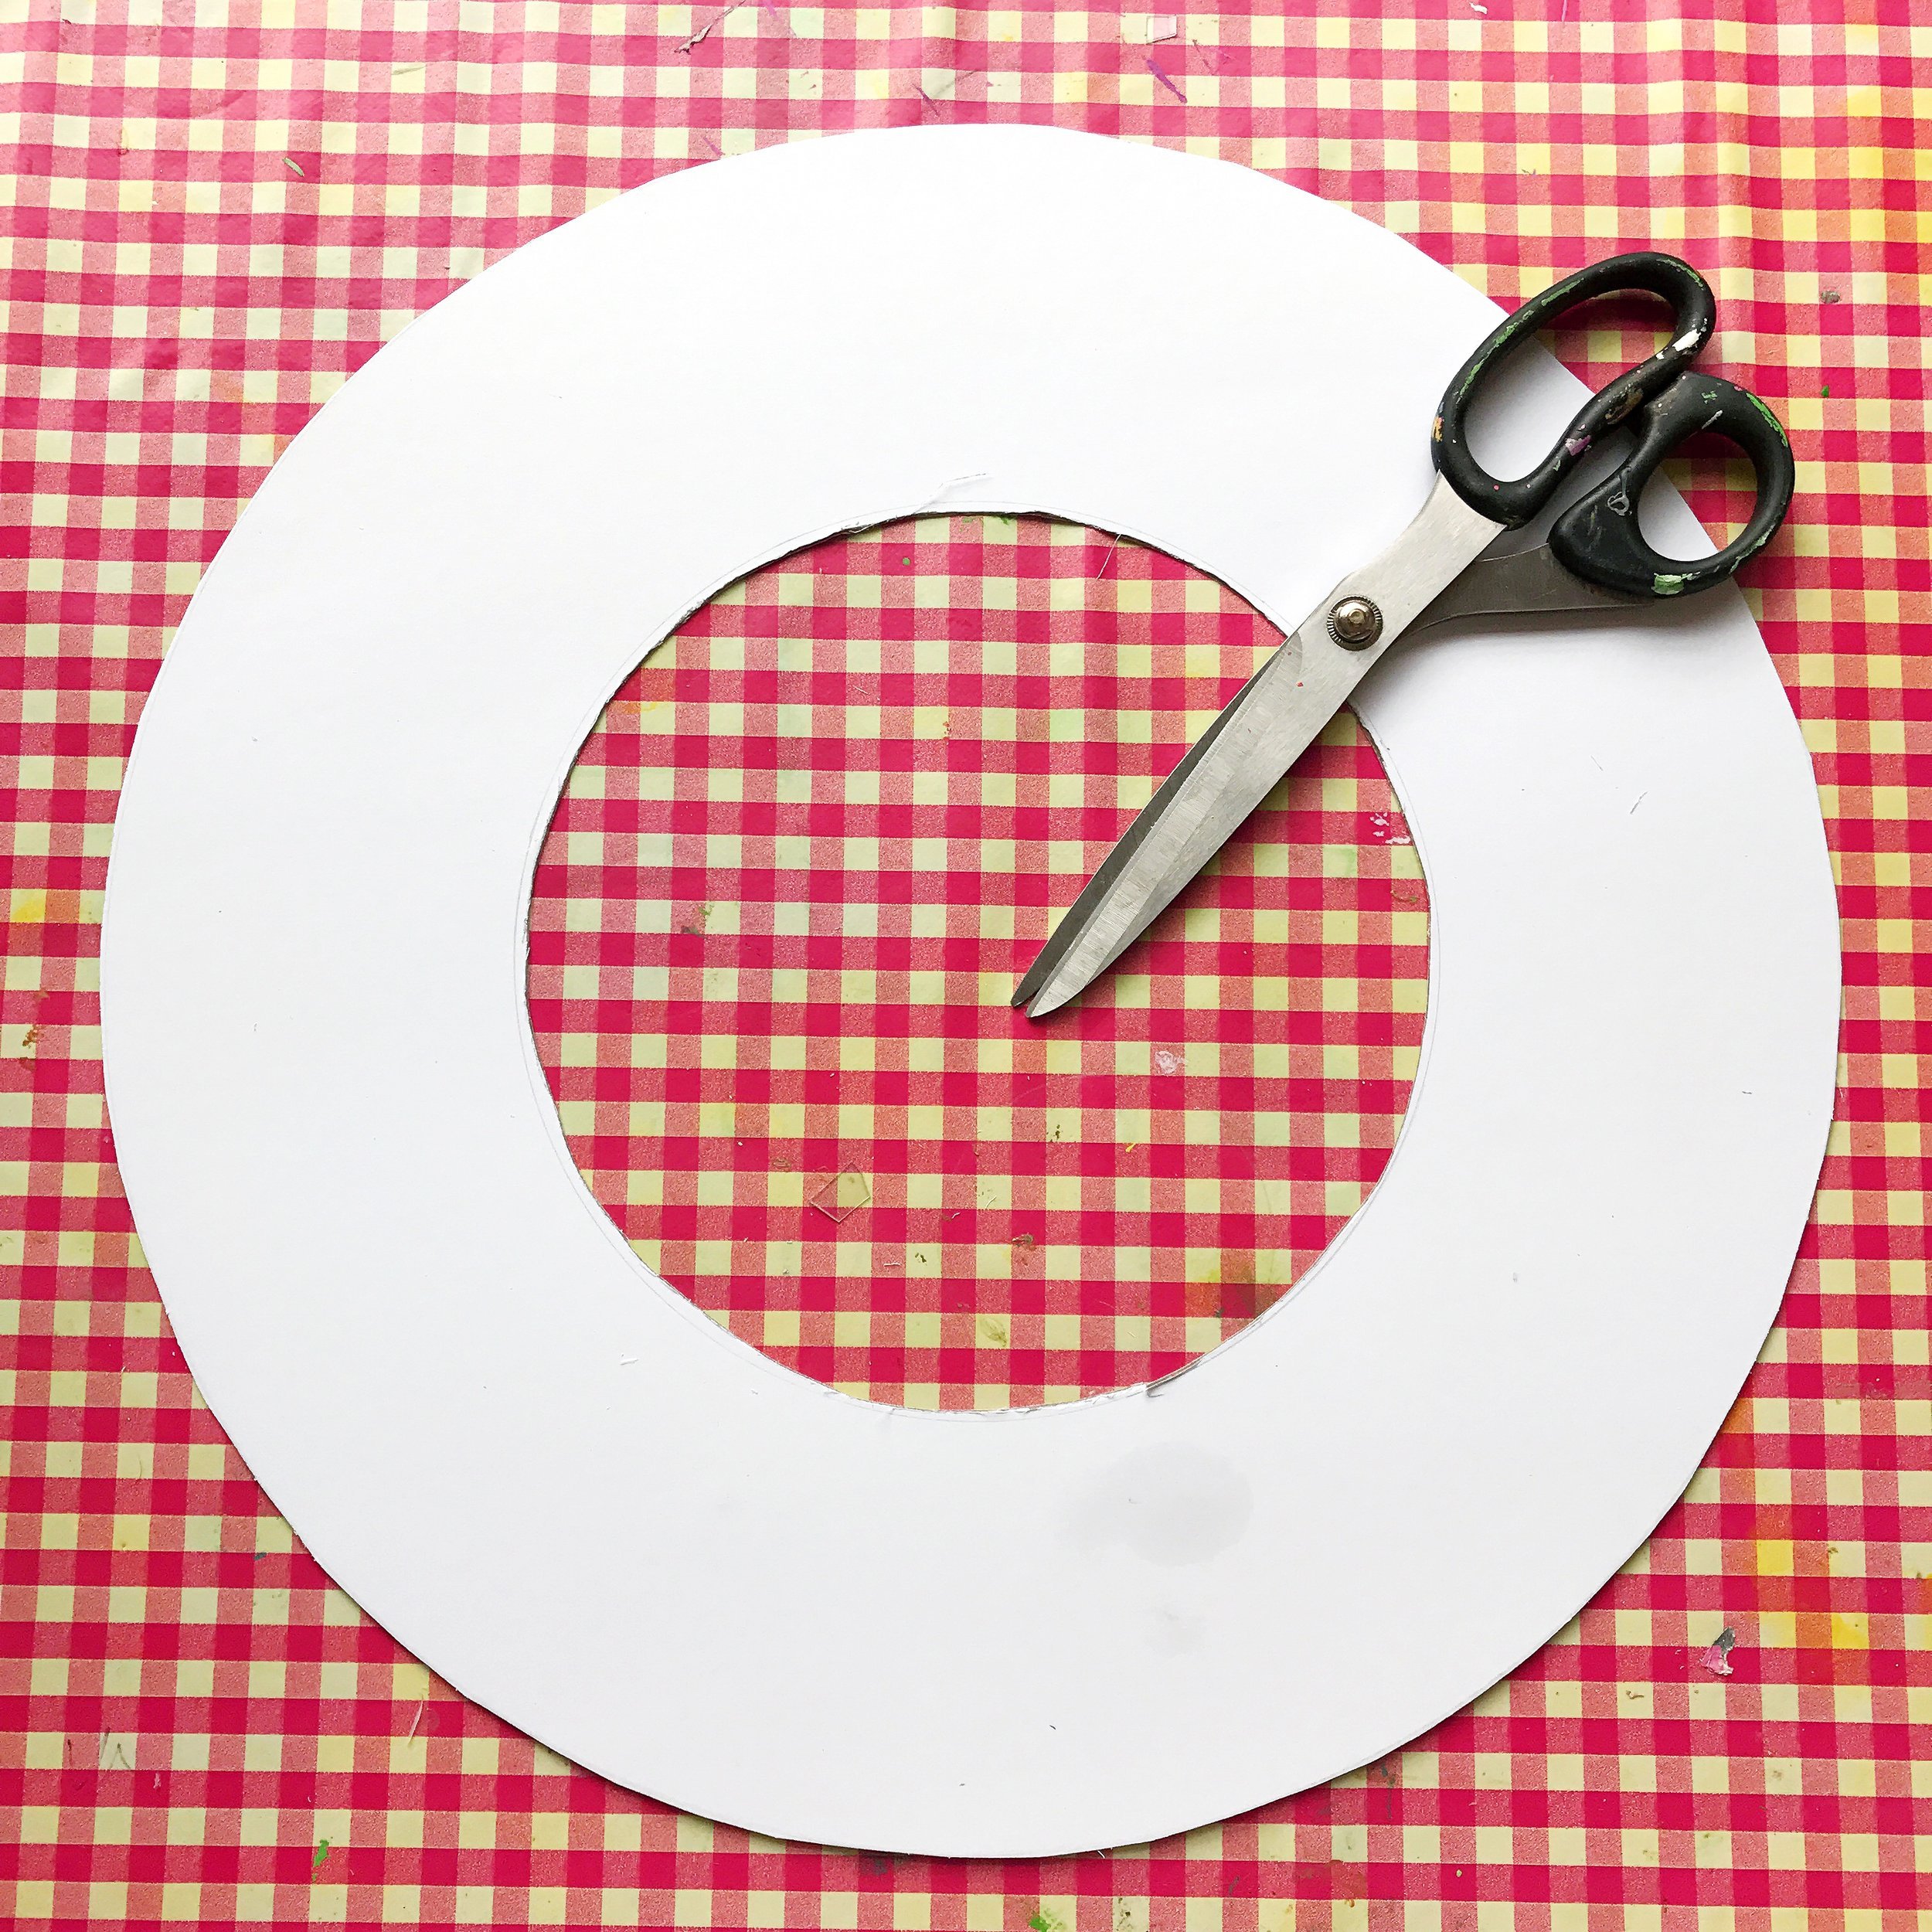
Draw a circle onto thick poster board or cardboard with a protractor. I made mine about 40cm in diameter and 10cm wide. The size is completely up to you. Once you are happy with your circle cut it out. You may need a blade to score the middle section.
Paint the circle with one of the colours you have used on your plastic bits.
Punch two holes in the top with a hole punch. Space them far enough apart that it will hang well when you thread some string through later.
Finishing:
Arrange your pieces onto your cardboard base. Play around with different arrangements until you are happy with the composition. Try layering your pieces on top of each other. Place smaller lids inside bigger containers in contrasting colours.
When you are happy with your design, glue it all down with hot glue.
To finish, thread and tie a length of string through the holes you made earlier in your base.


