

Giant stamps

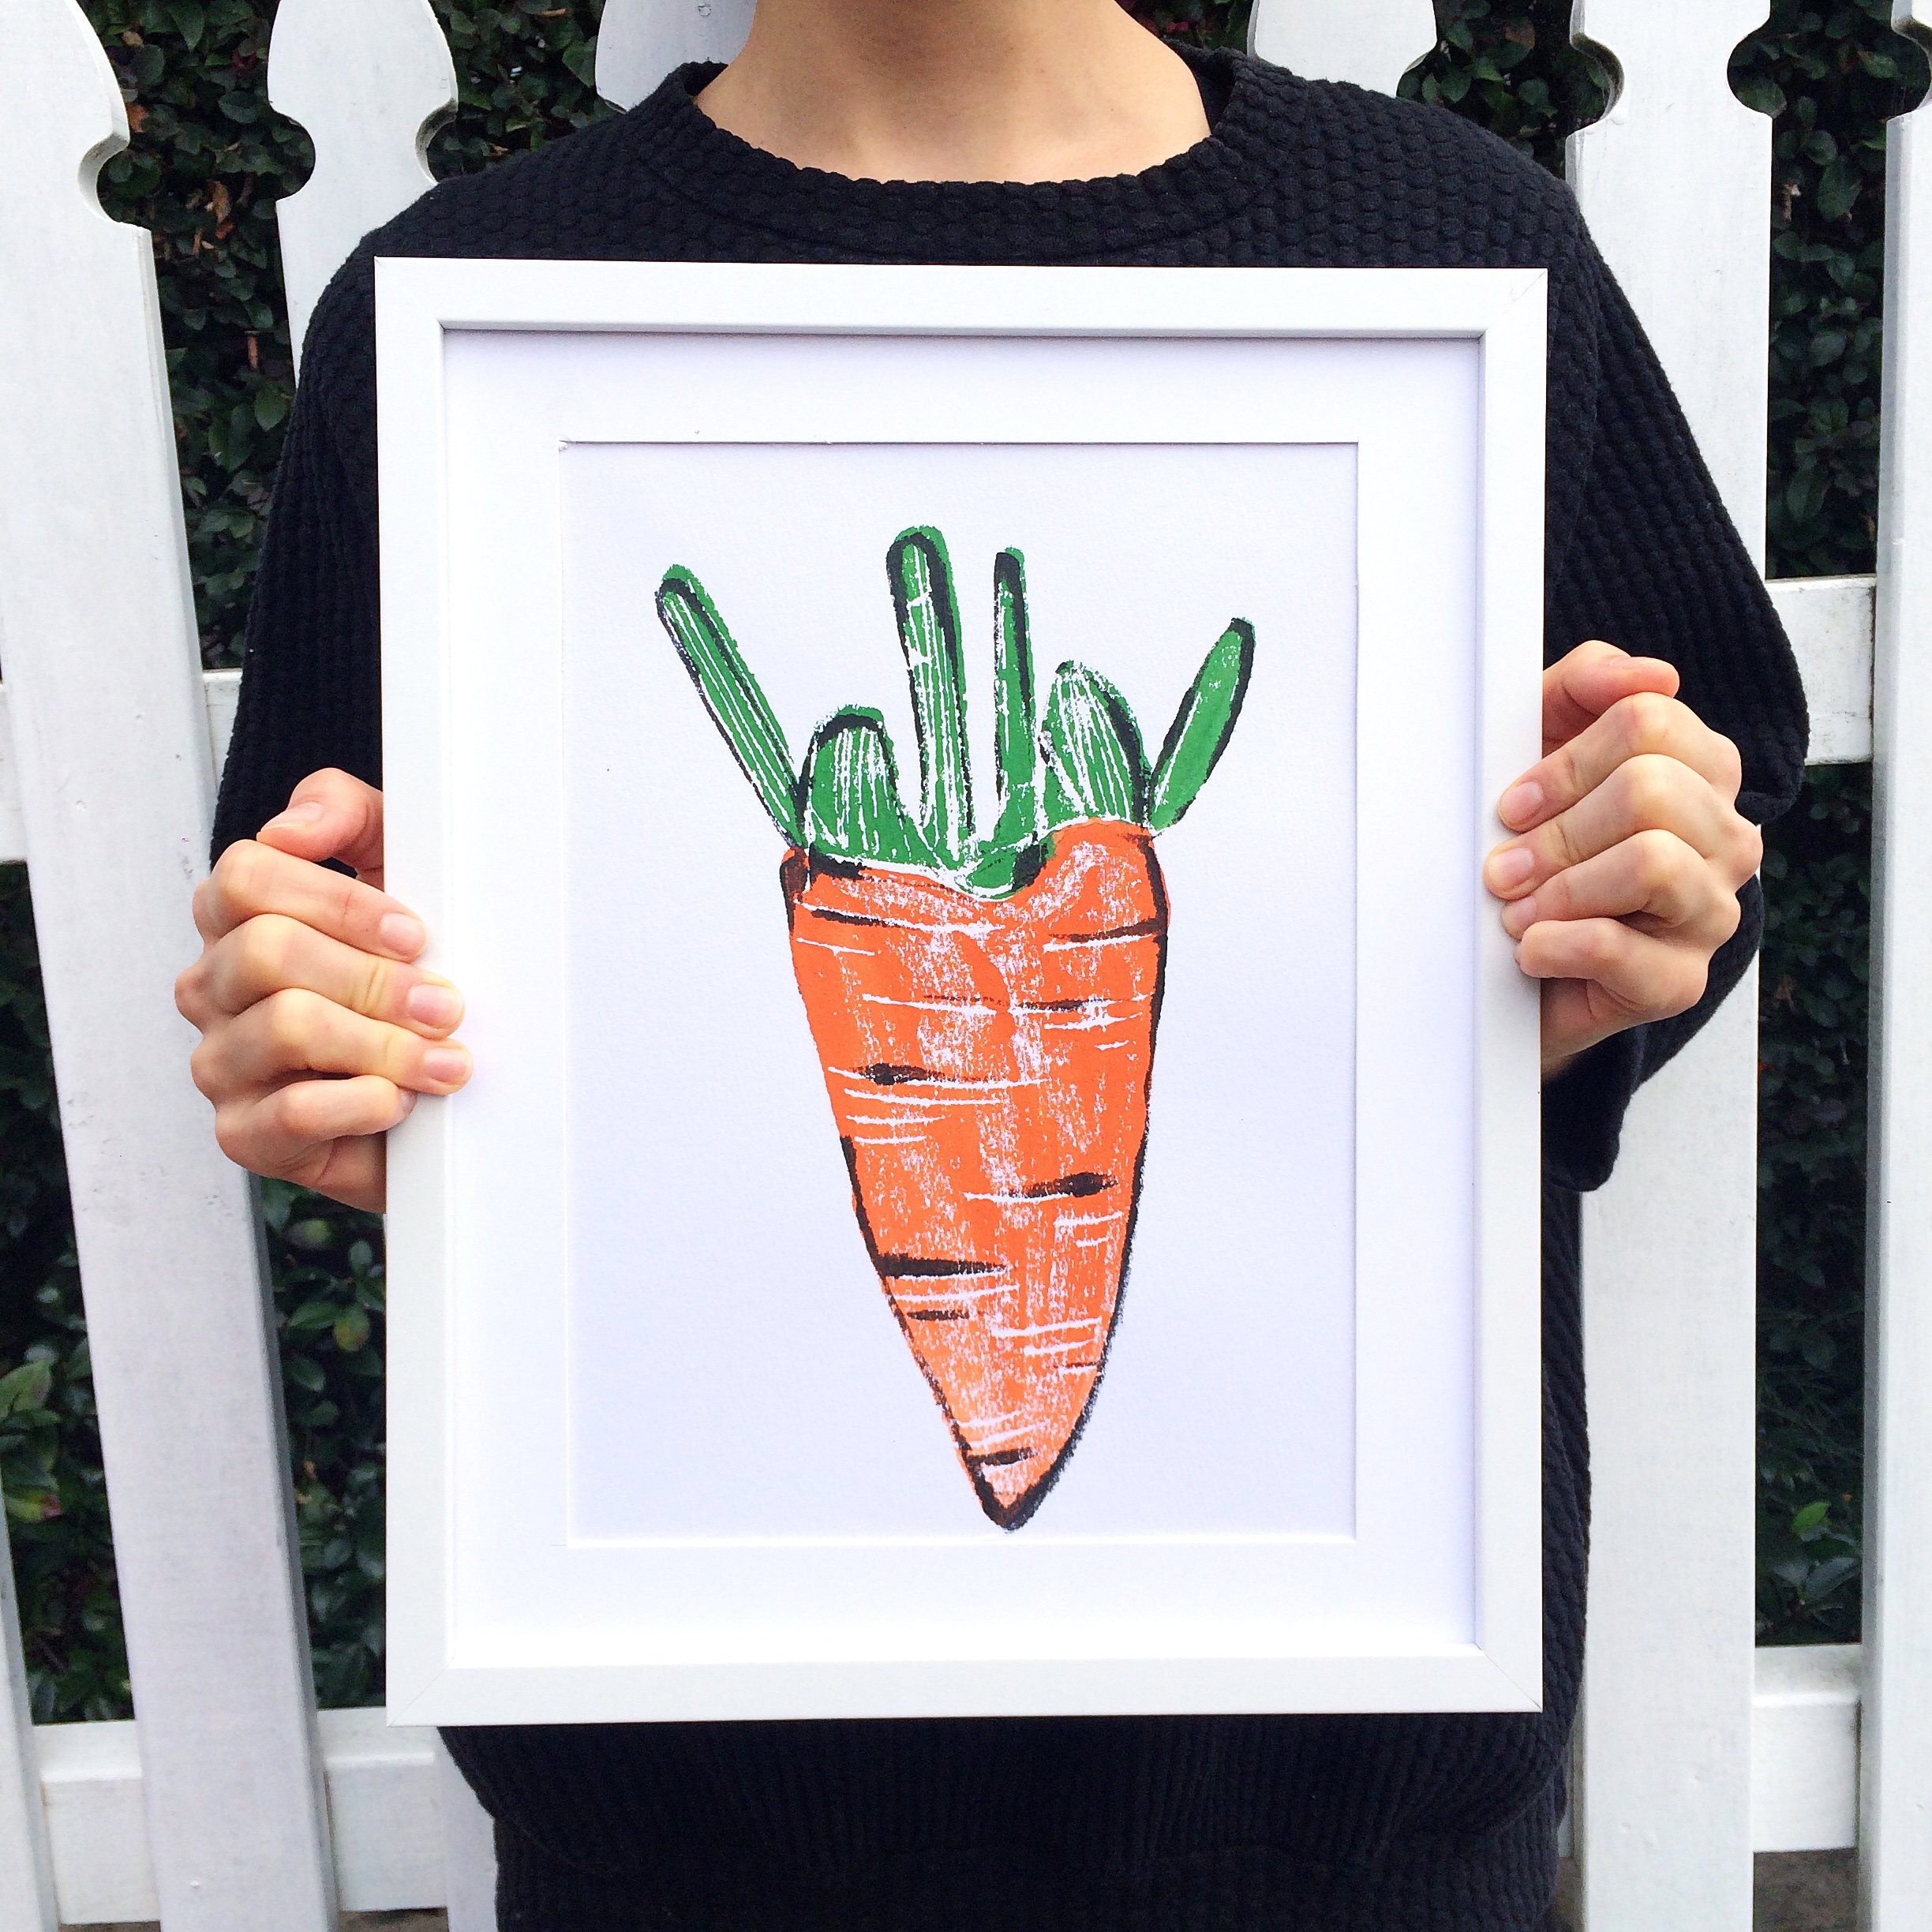
So my sister has a thing for carrots. Yep, carrots. So, for her birthday this year we decided to make her a carrot tribute.
On a separate, yet connected tangent, I have always desperately wanted to be a print maker (along side my desire to be a master ceramicist and a billion other things)
So.. It seemed like a natural step to begin the first step in my print making journey with a print of a carrot.
This is a great project for both kids and adults as it is a very simple process that produces really wow results.
Obviously, you don't need to make a carrot print, you can print whatever you like but i'm pretty sure you will agree that these carrot prints turned out pretty darn great.

What you need:
- A piece of scratch foam (available from art and craft suppliers)
- A piece of thick cardboard (we used a recycled cardboard box)
- Paint and paintbrush
- Paper
- Something to scratch with (end of a pencil/paintbrush/blunt pin
- A print roller (totally optional)
- Scissors
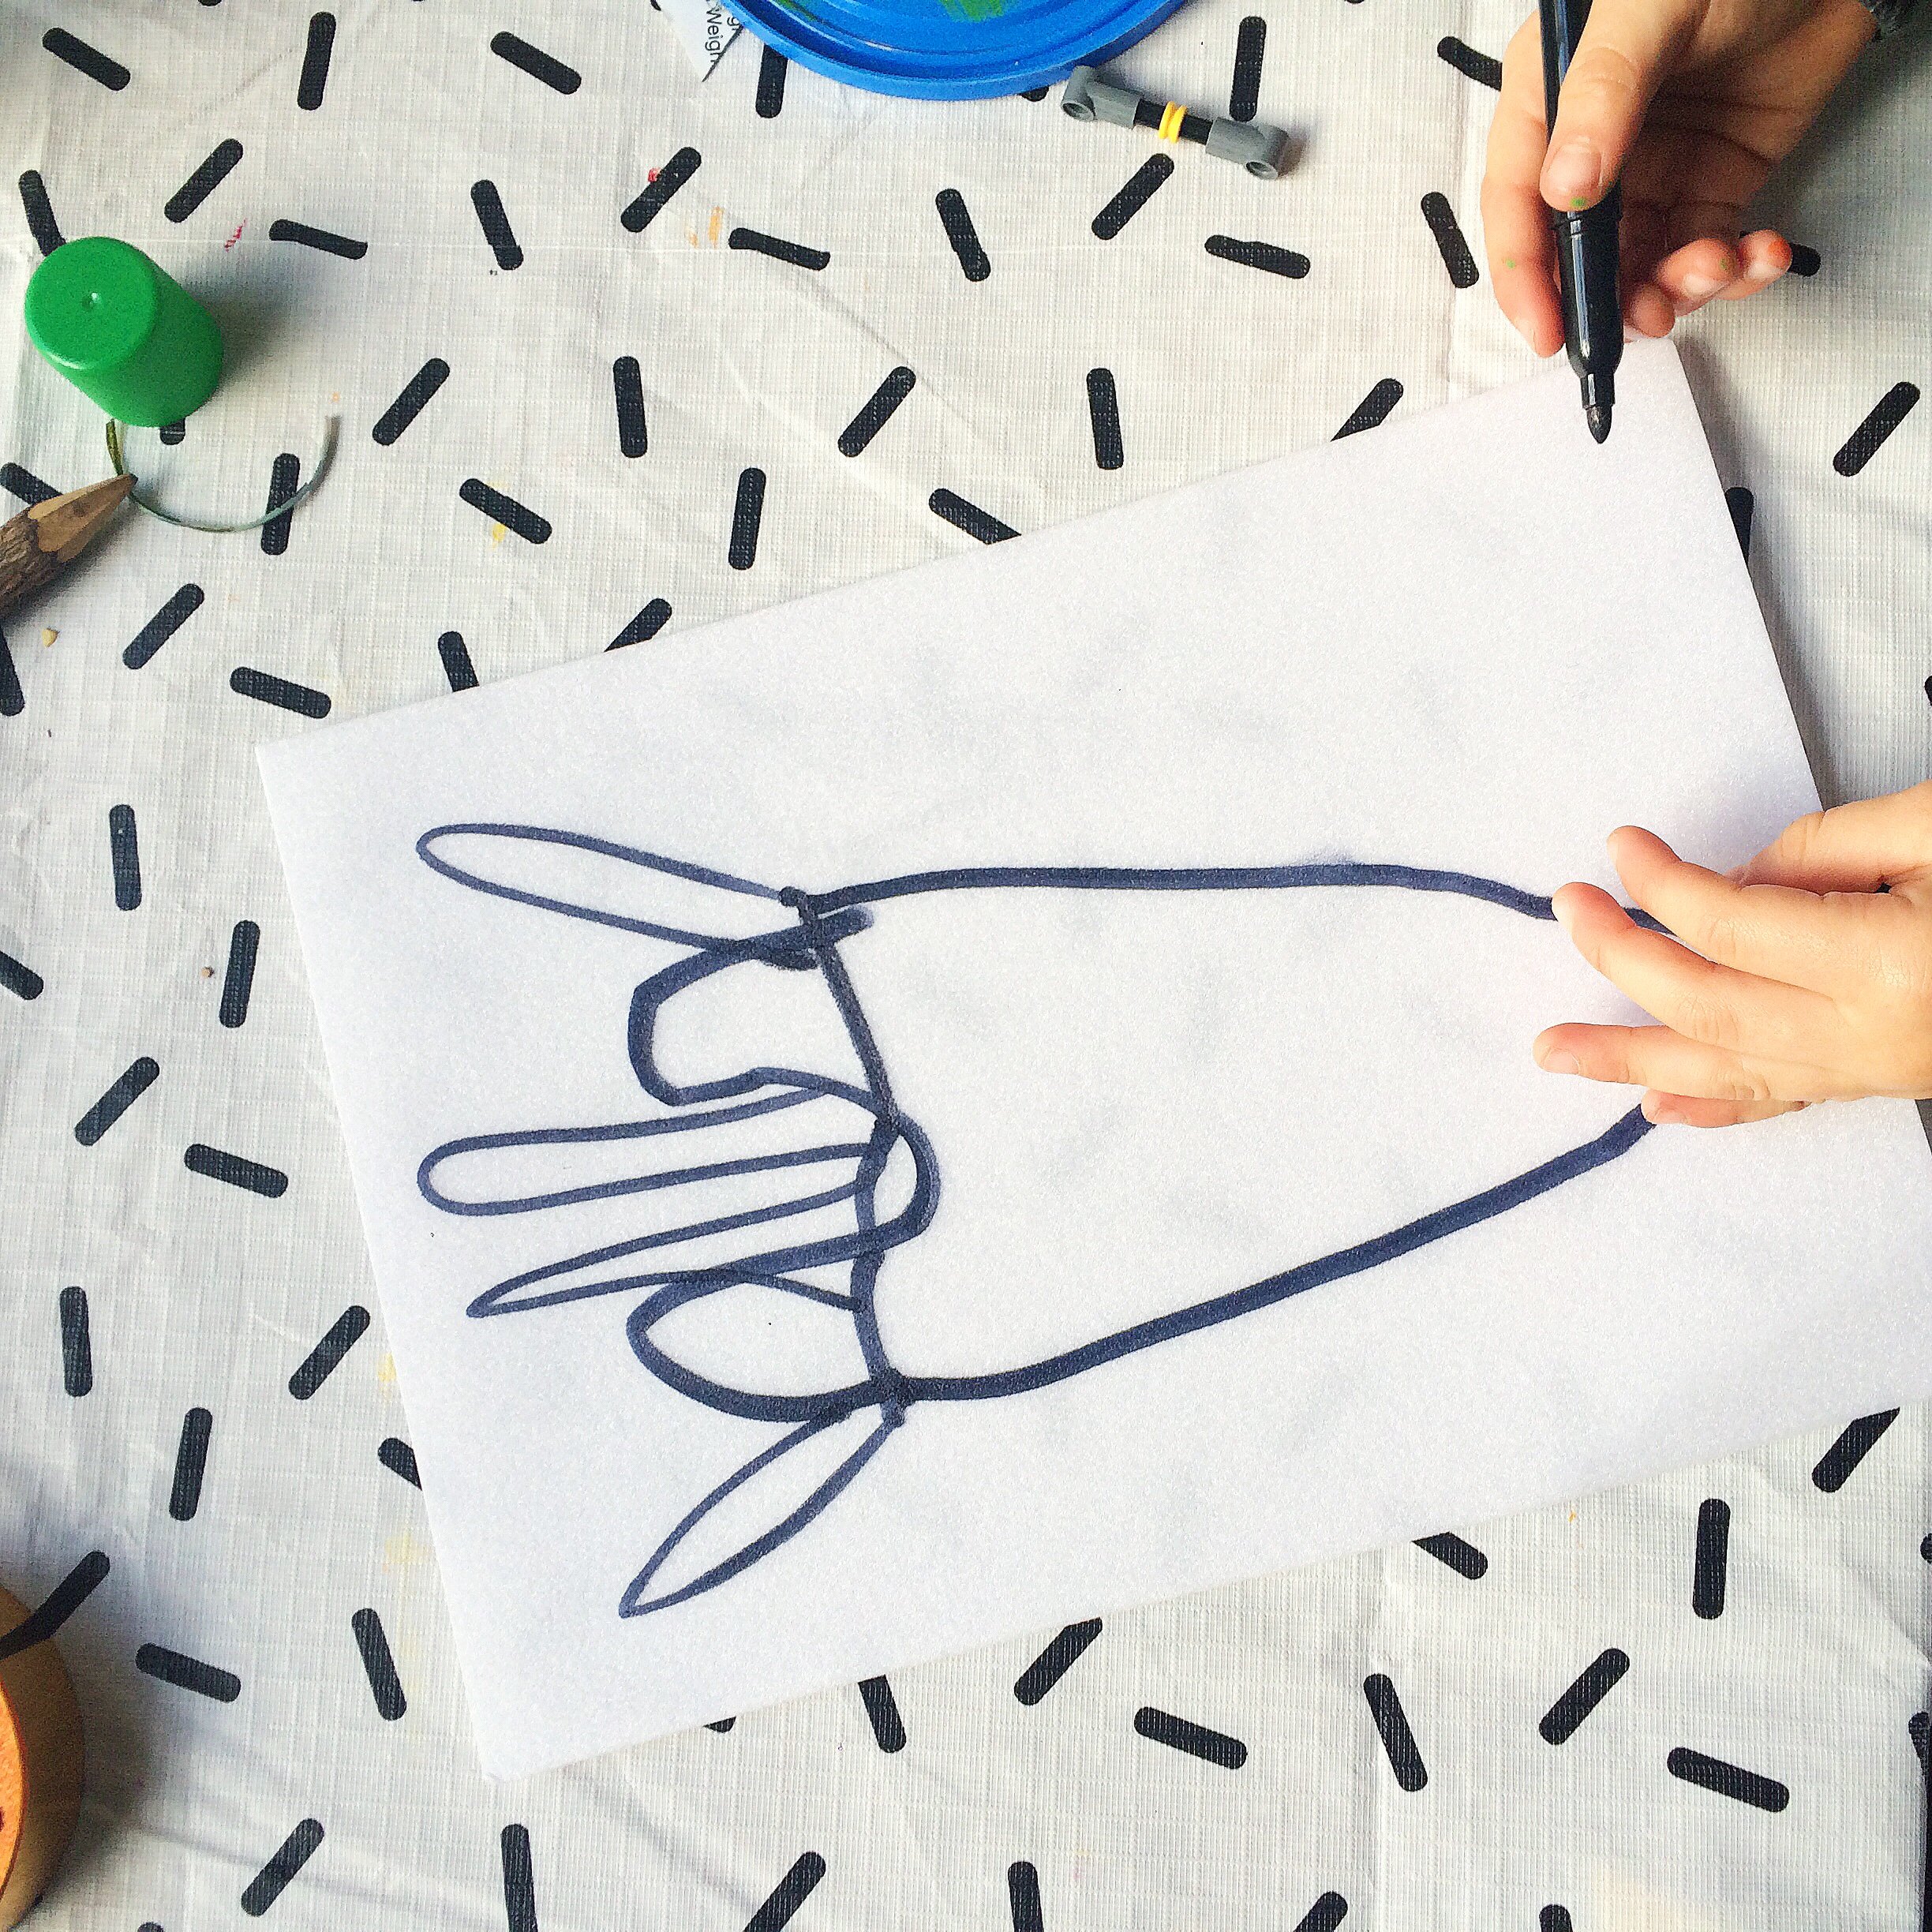
1. Using a marker, draw your shape onto the scratch foam. Again, I wont be offended if you choose not do do a carrot but I highly recommend it ;)
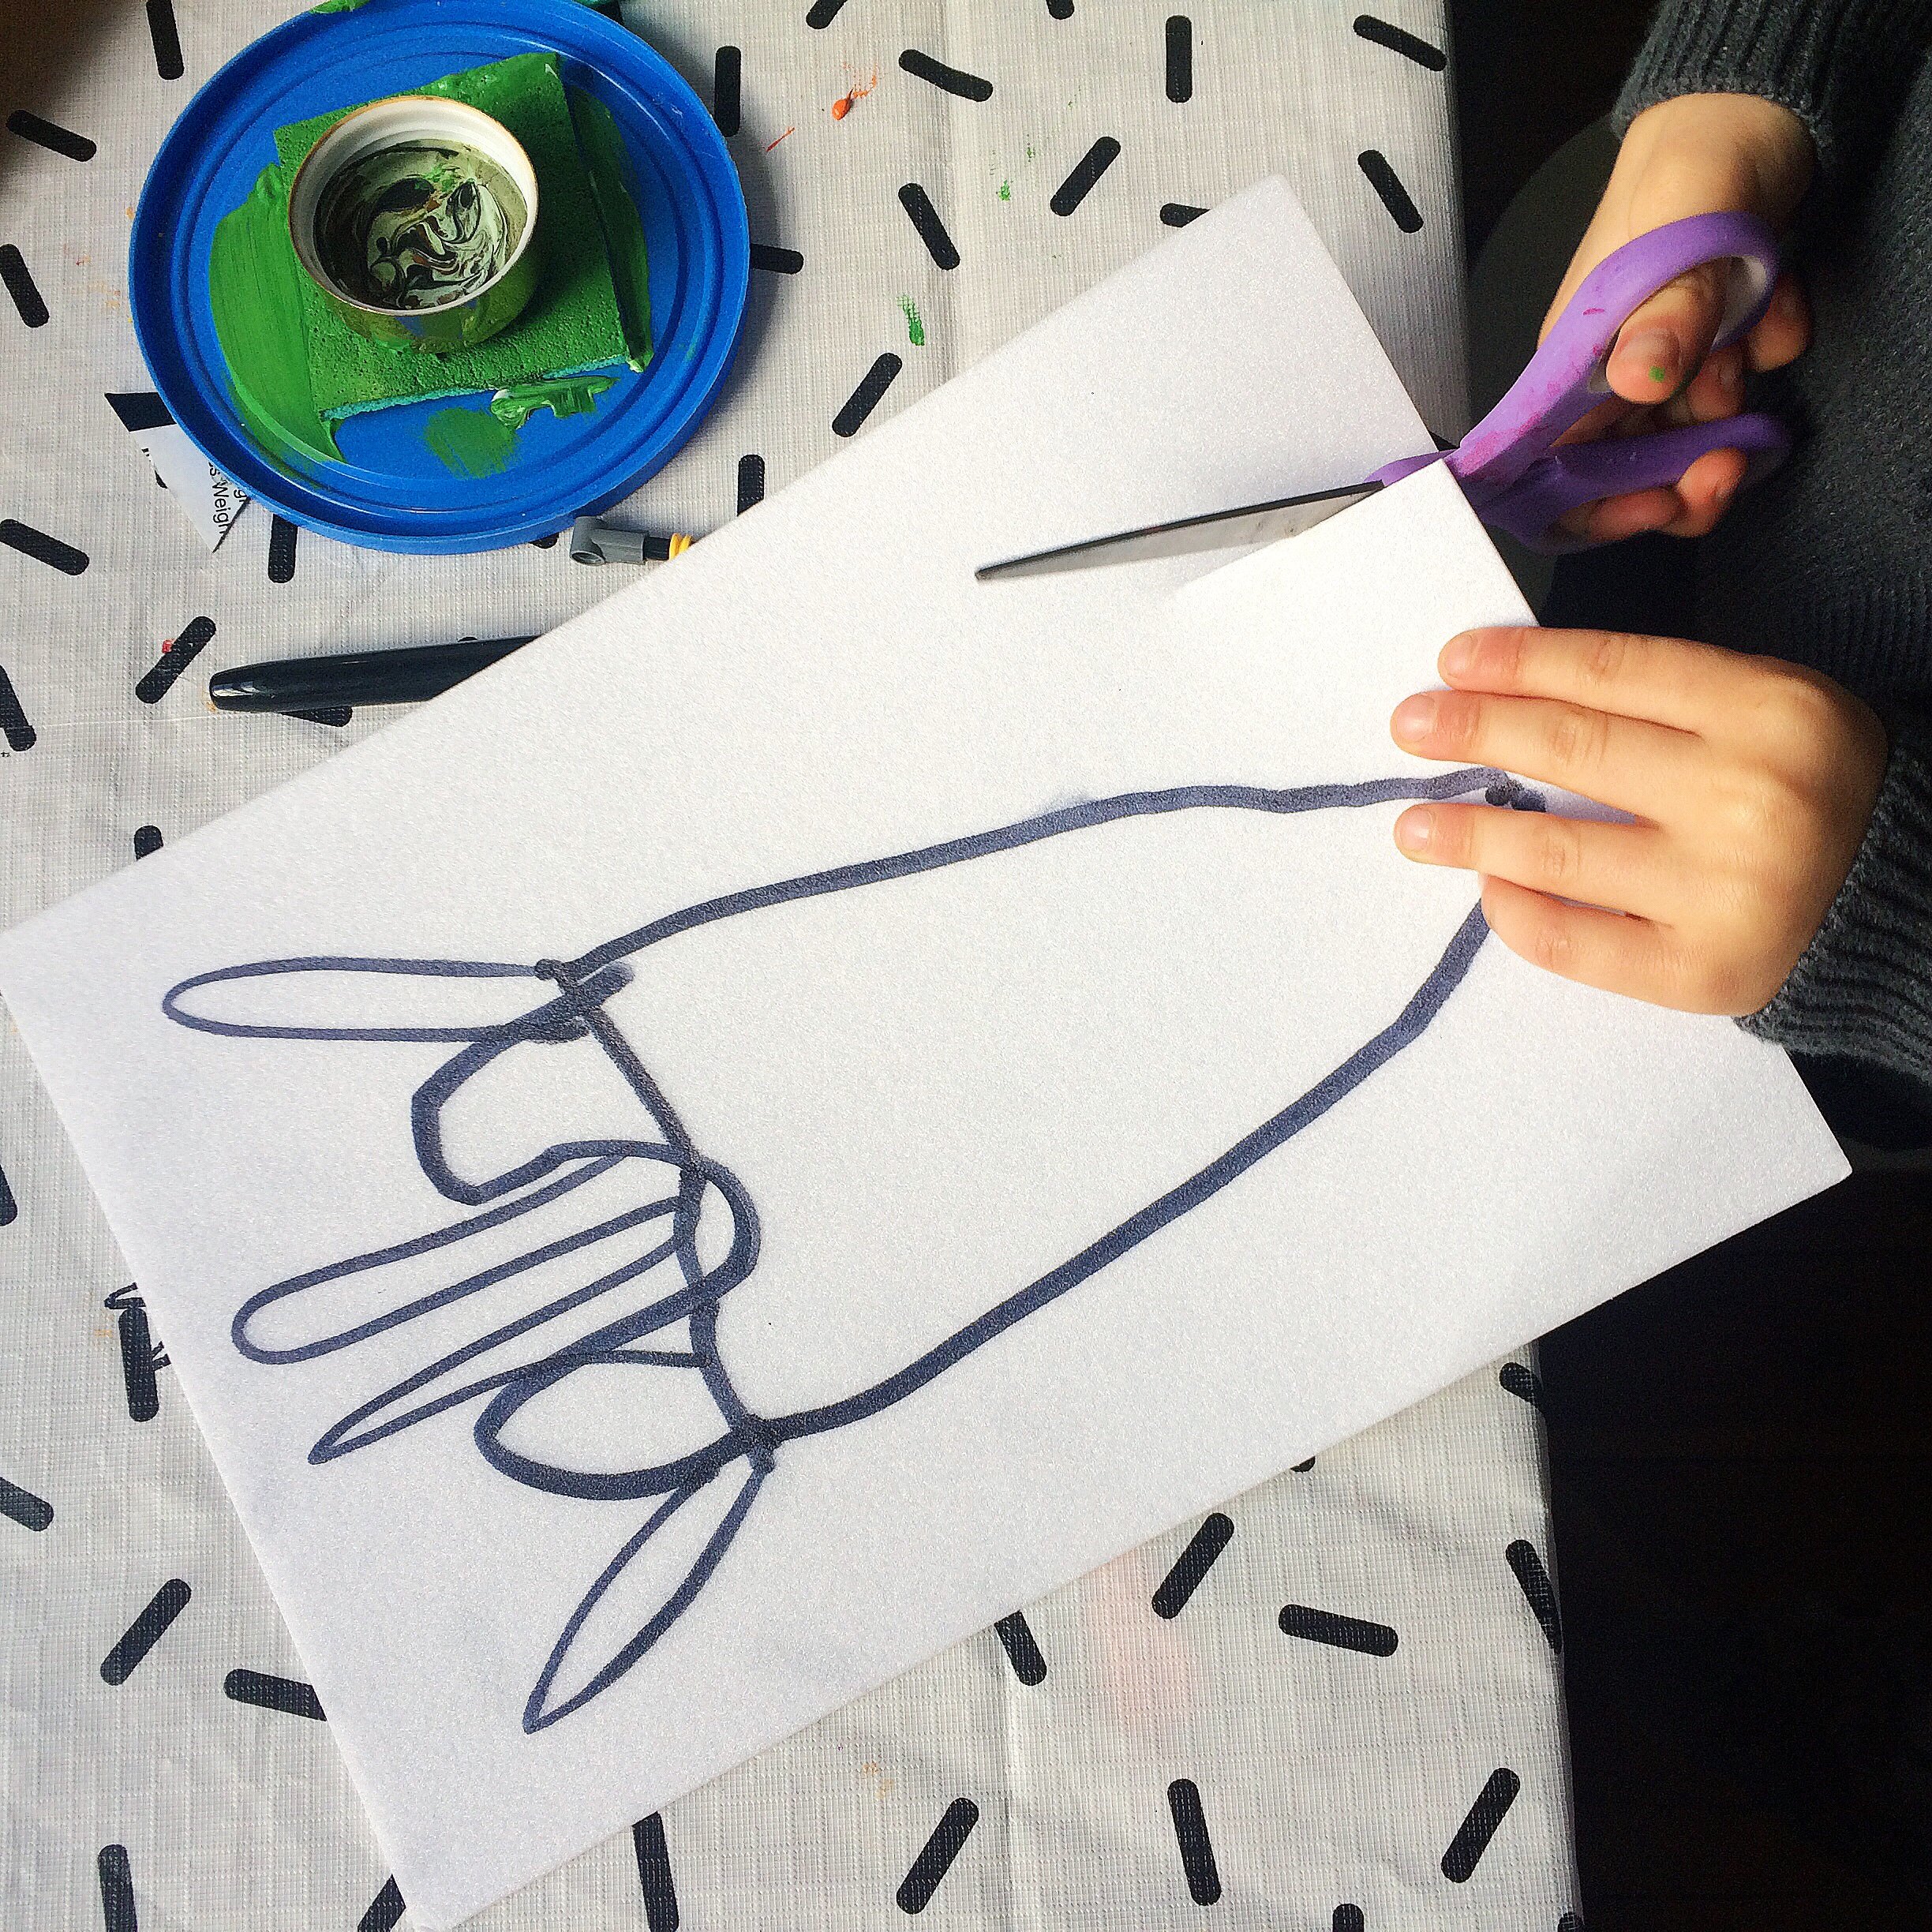
2. Cut around your shape. Mt 5 year old needed some help here but this obviously depends on the age and dexterity of the child.
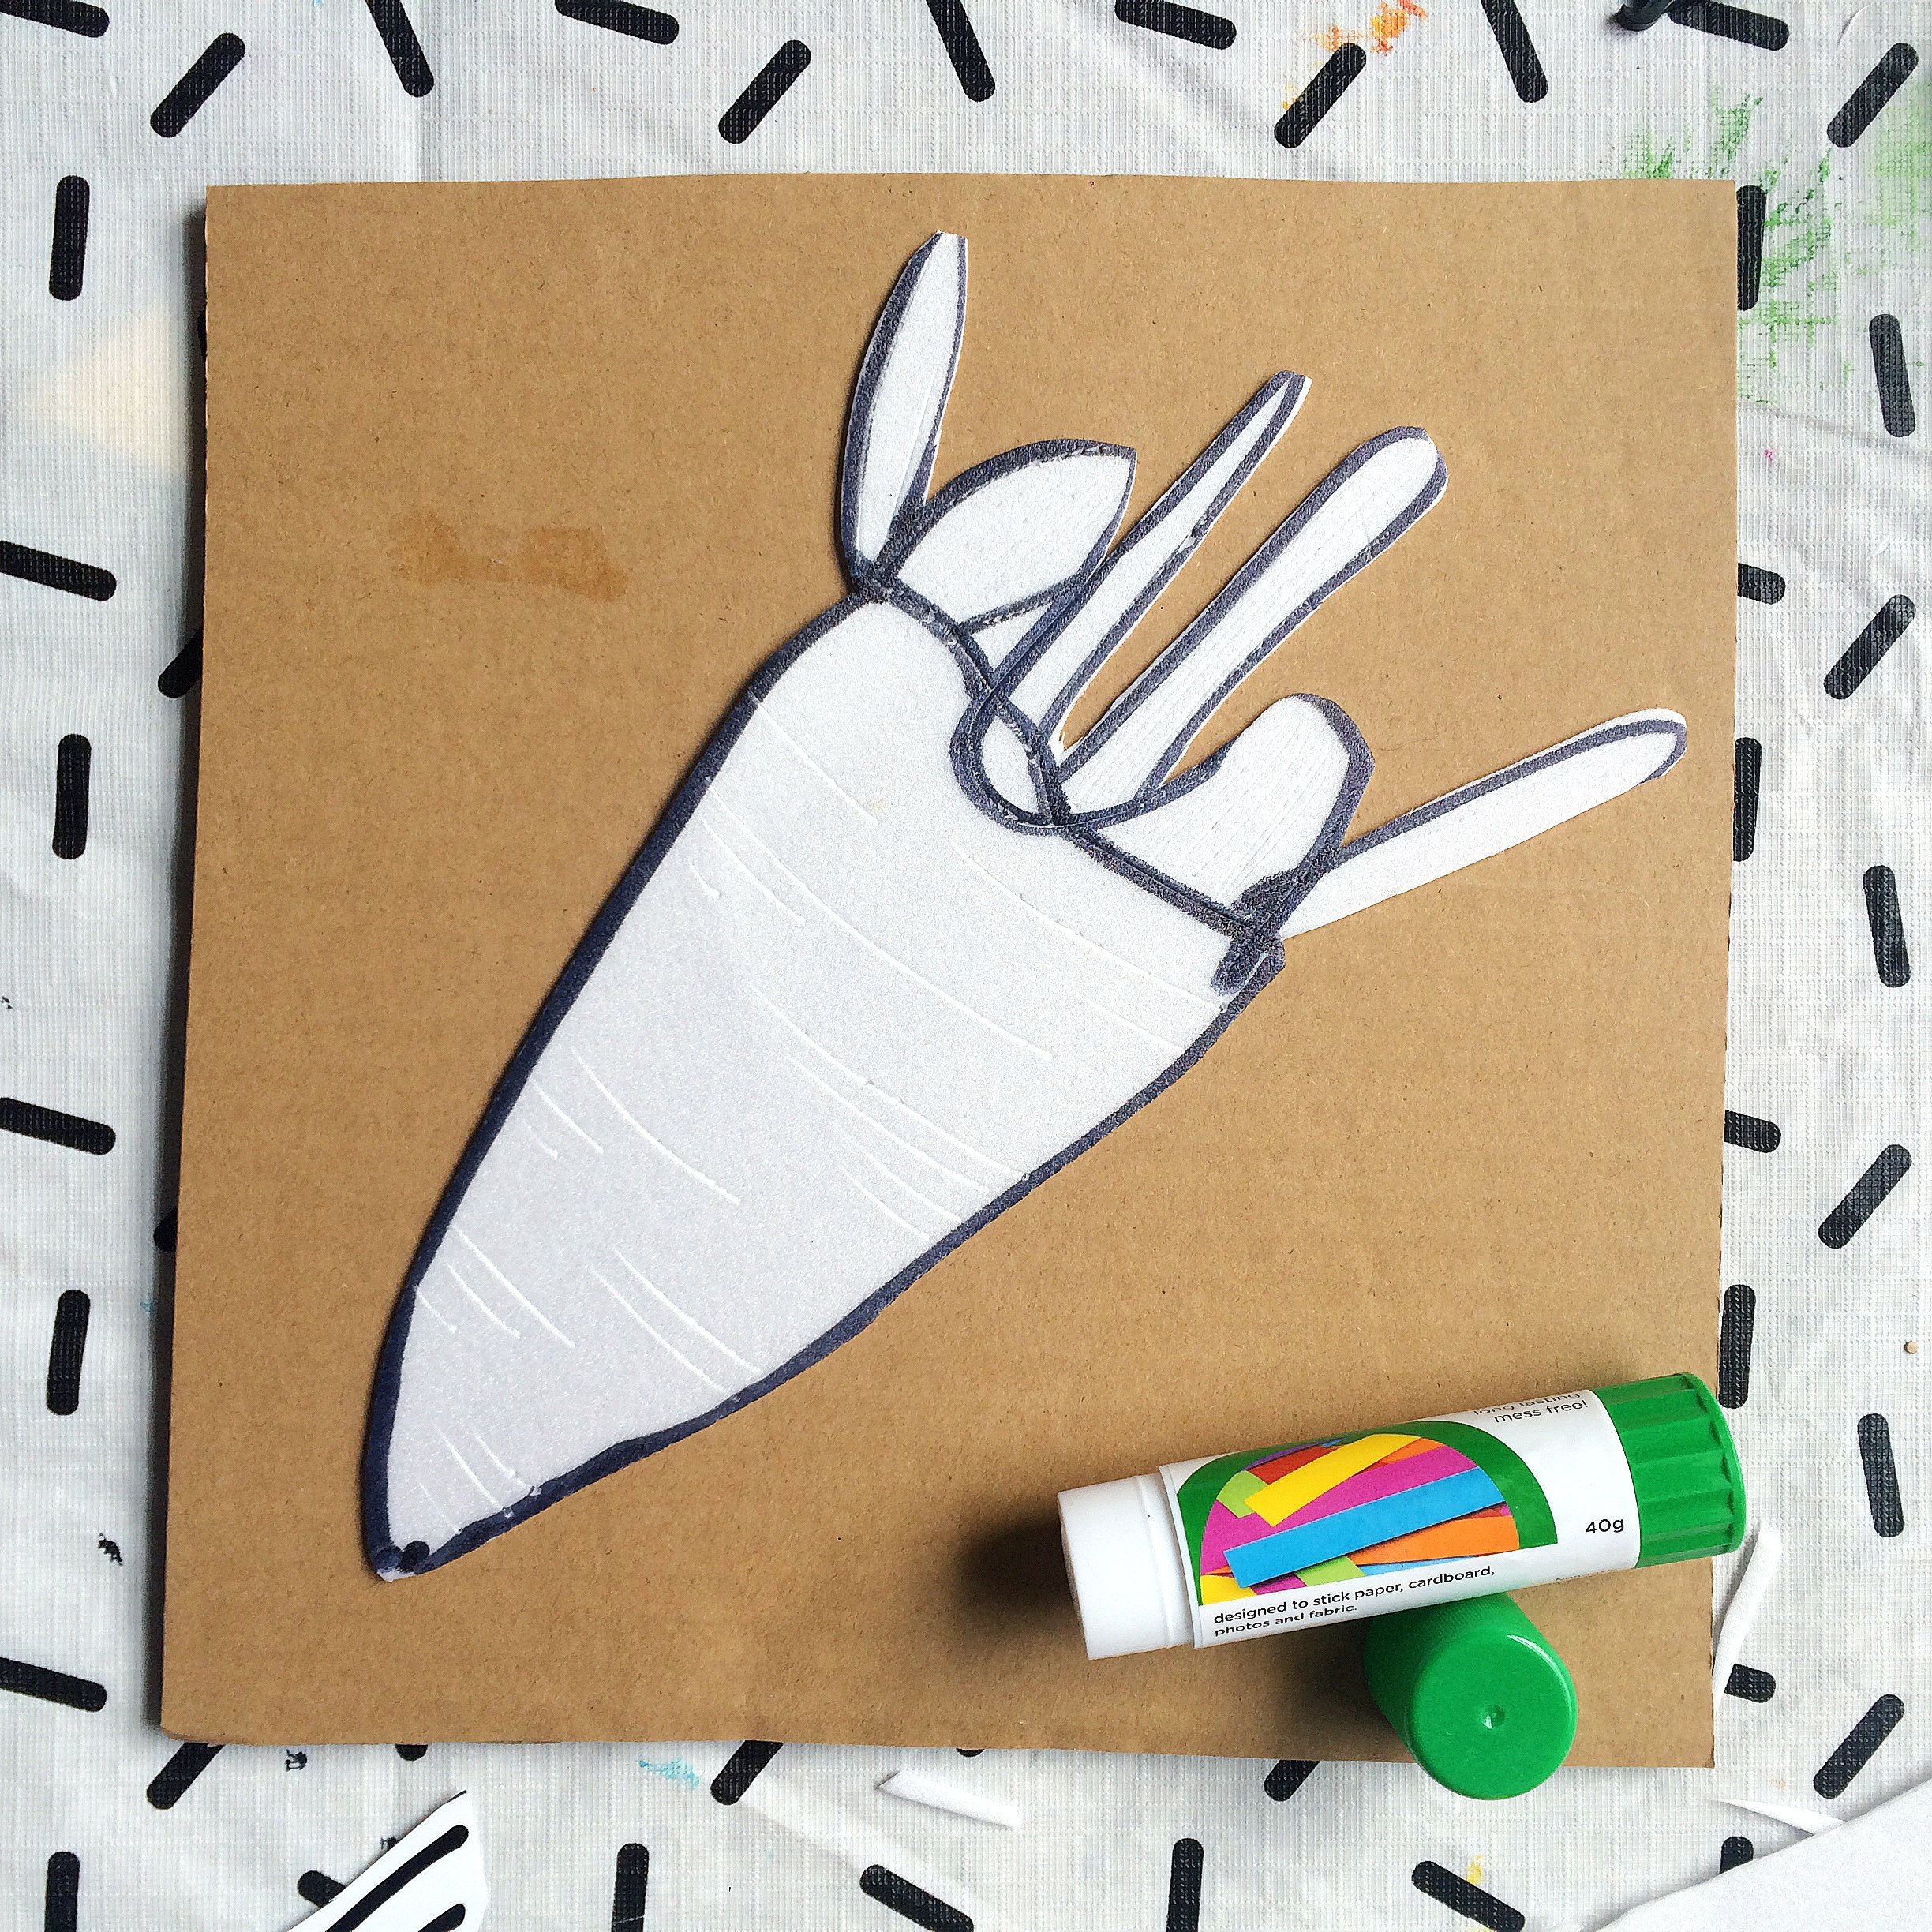

3. Glue your shape to the cardboard.
4. Using a sharp (but not too sharp ) implement scratch in some detail to your shape. I added in some extra internal lines on the carrot and in the leaves.
5. Using a paintbrush, paint your stamp. You can keep this as simple as you like or really put in lots of detail. I personally think less is more here though.
6. Lay down a piece of paper and place the stamp down carefully onto the paper. Use your hand, or a roller to evenly and firmly press down on the top of the cardboard.
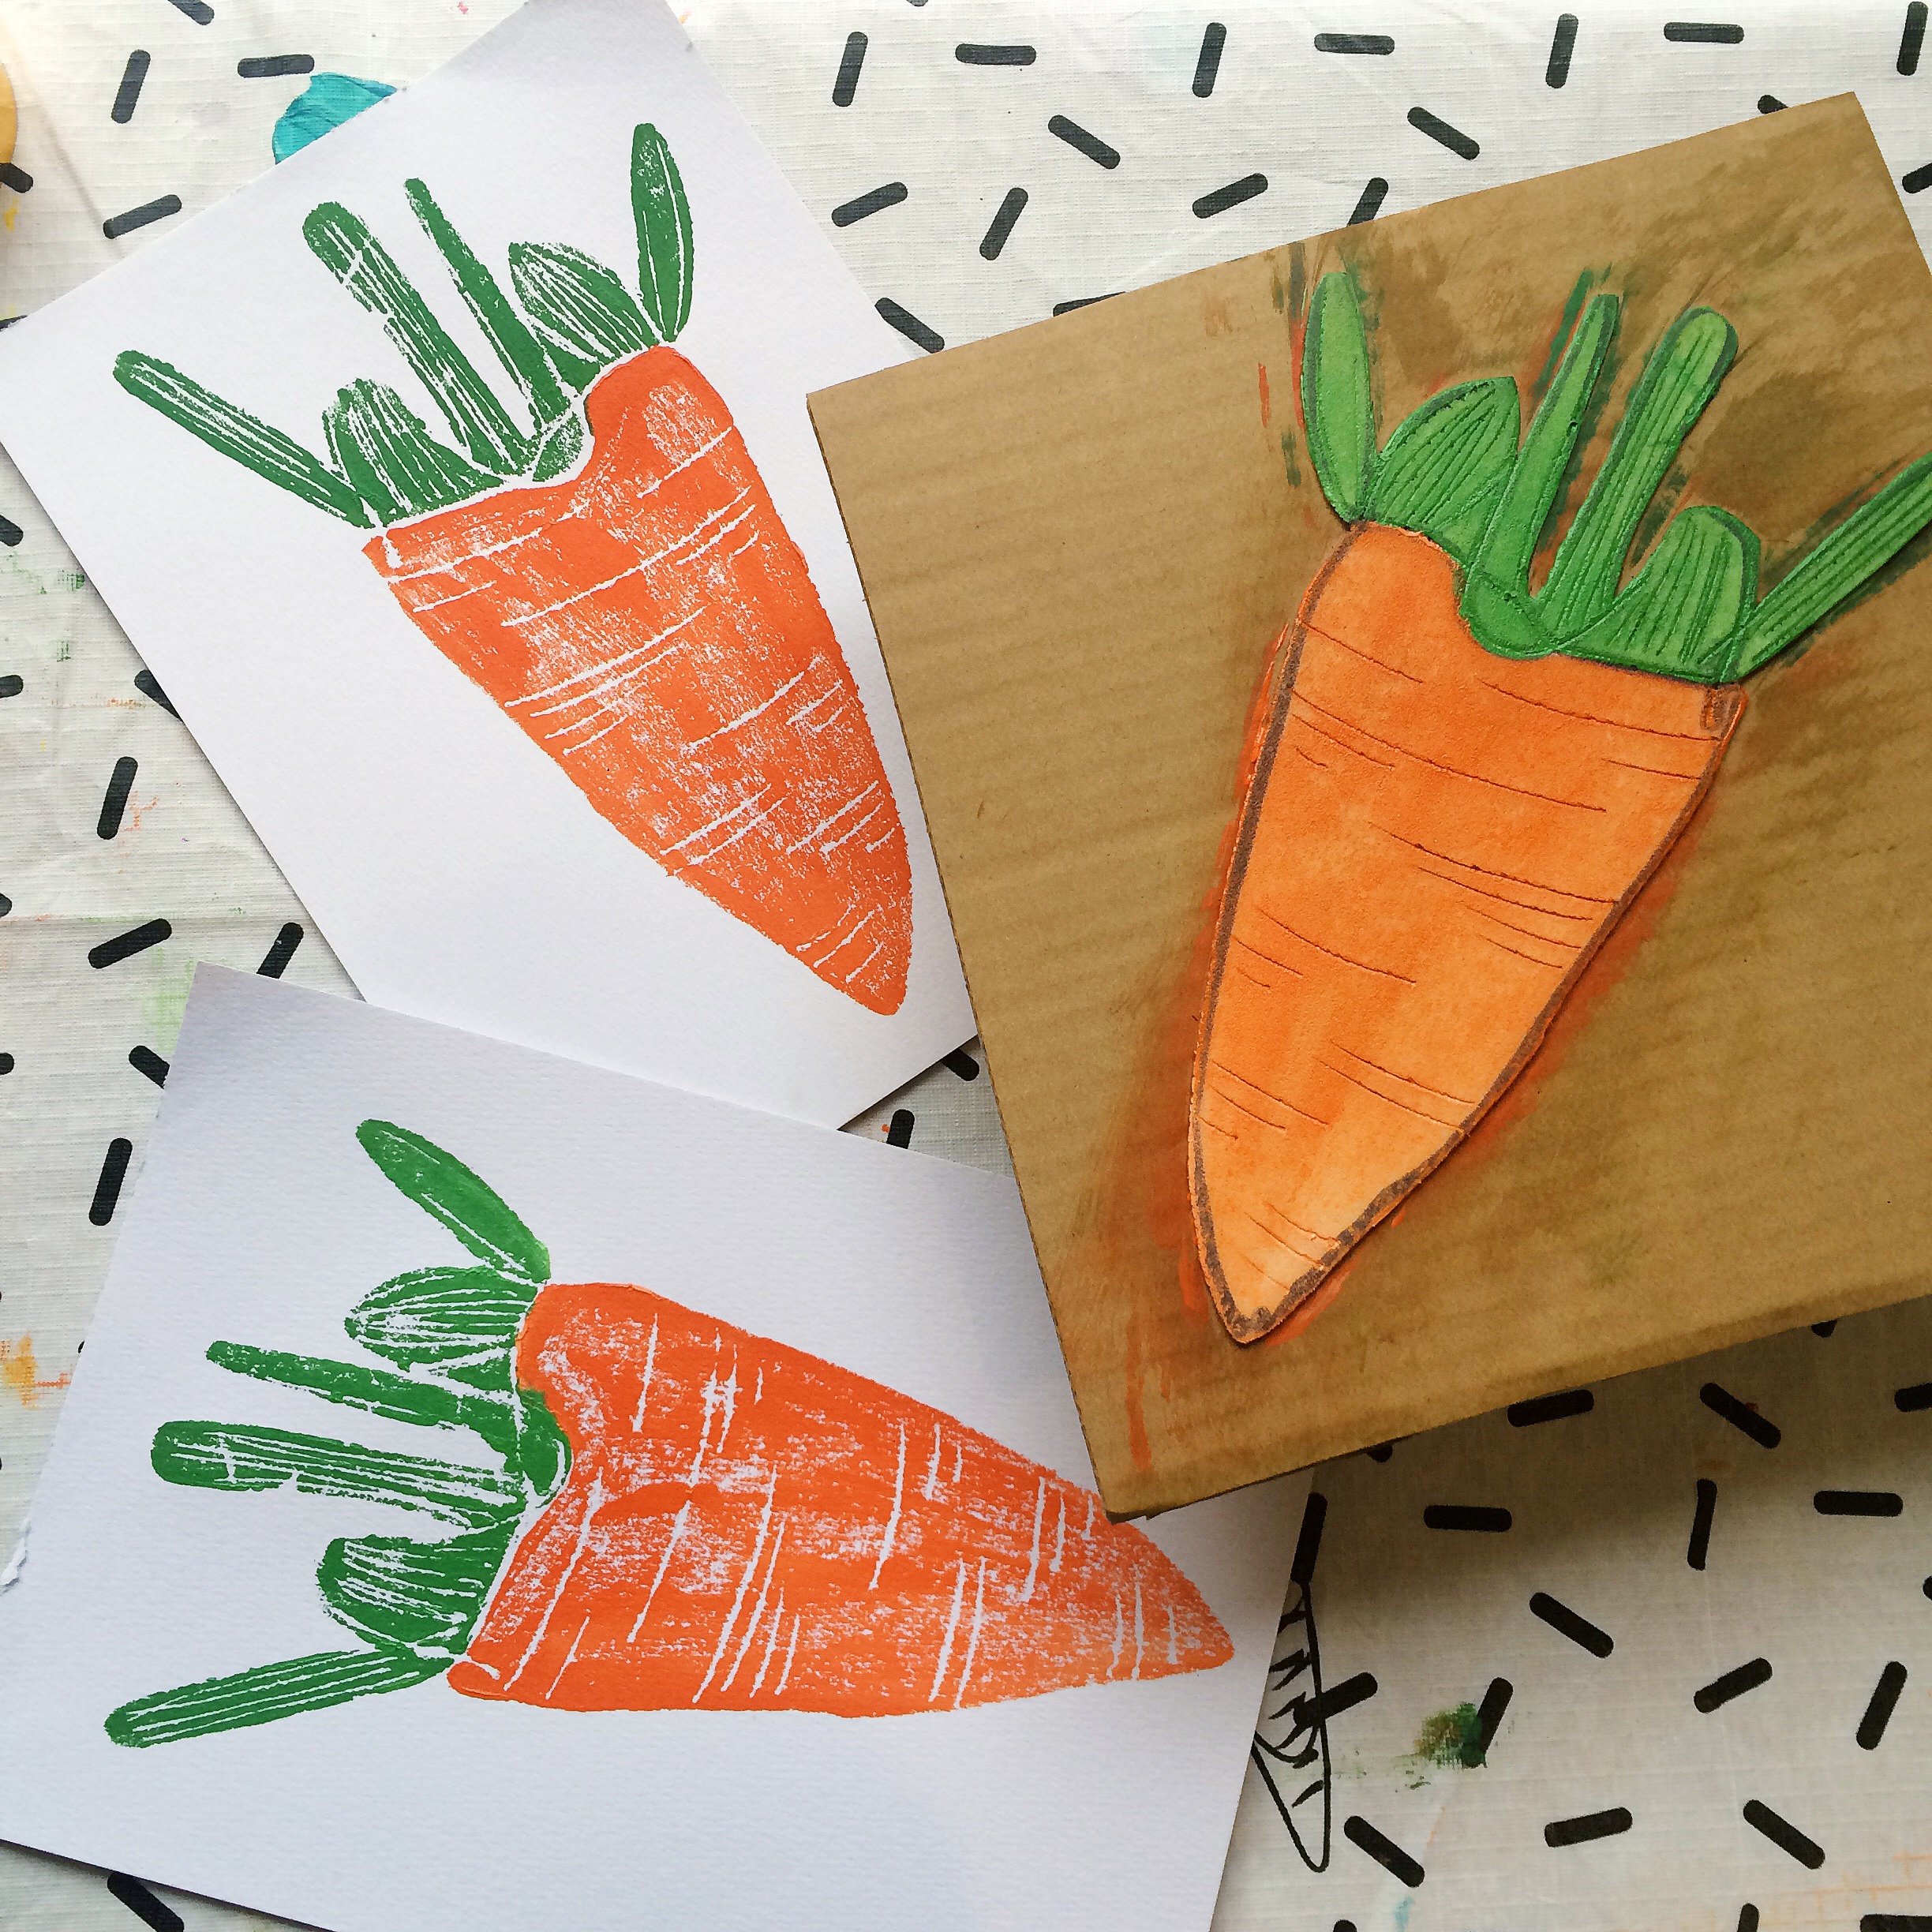
7. Gently lift off the paper and allow to dry.
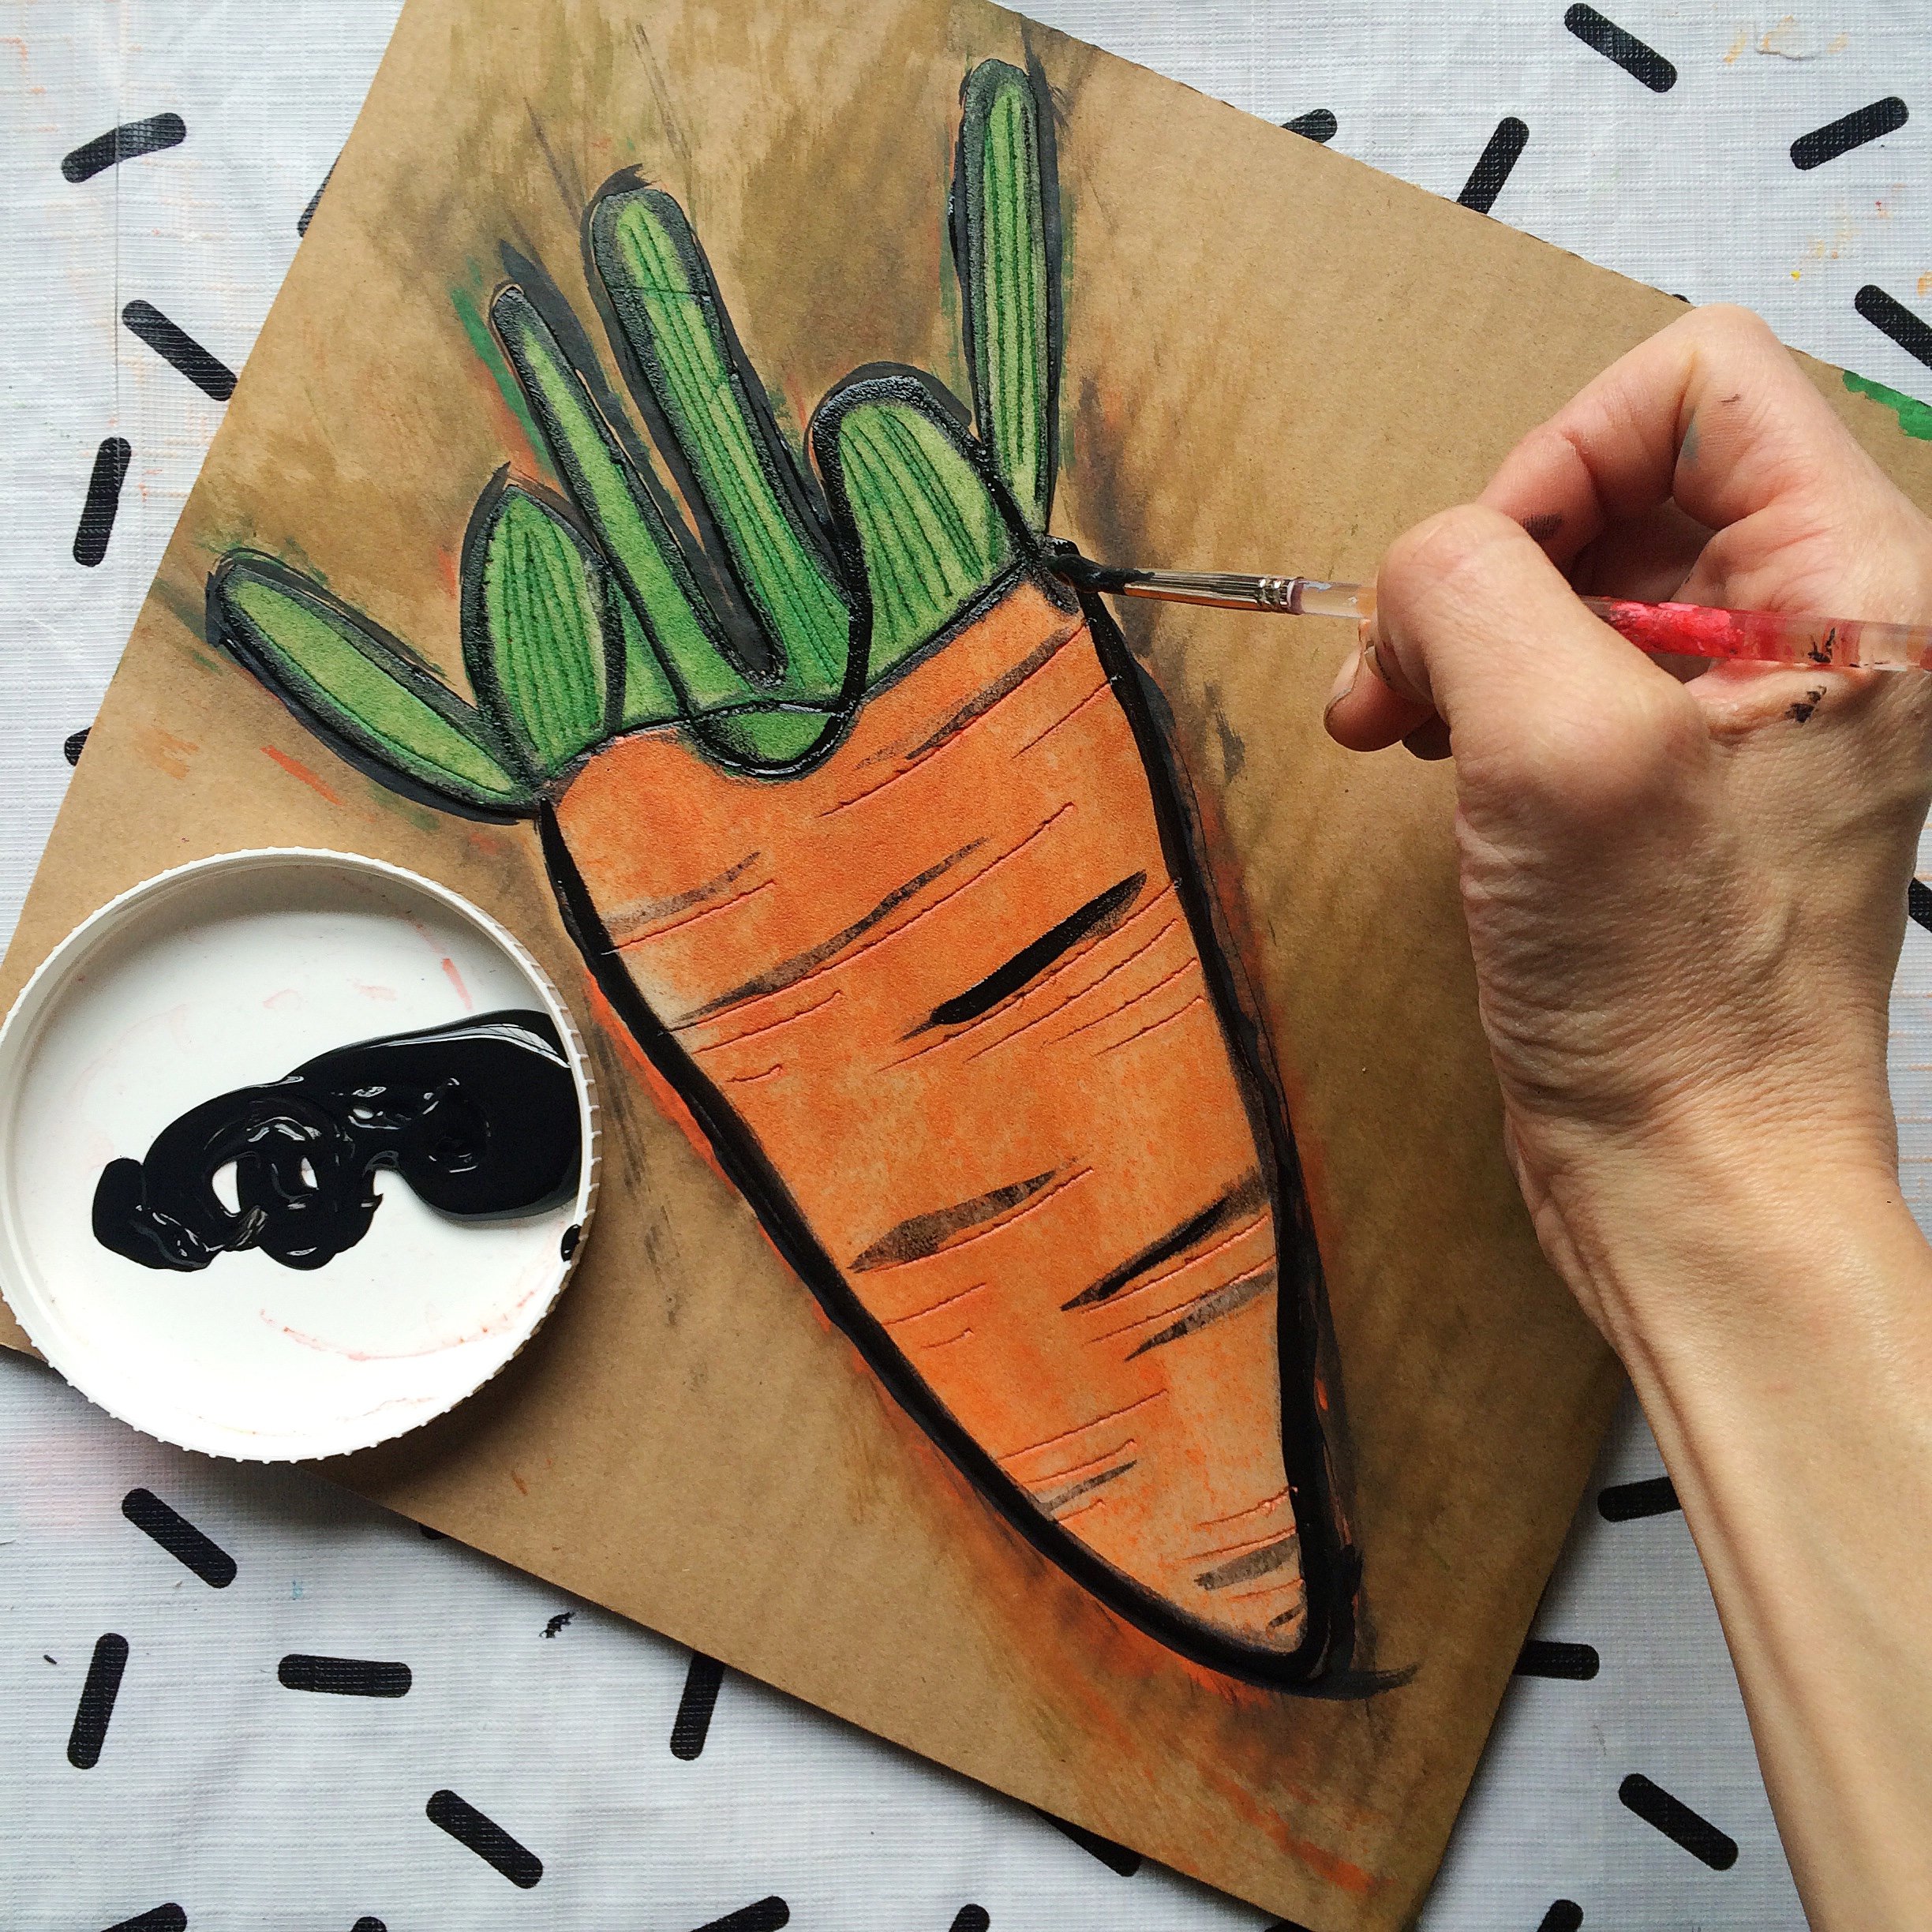
8. To add some extra definition to your print, draw around the edges of your stamp and along your drawing lines with a paintbrush and some black paint.
9. Line up your stamp on the paper you have already printed on and repeat steps 6 and 7.

10. All done! Why not put it in a frame for that super pro finish?
