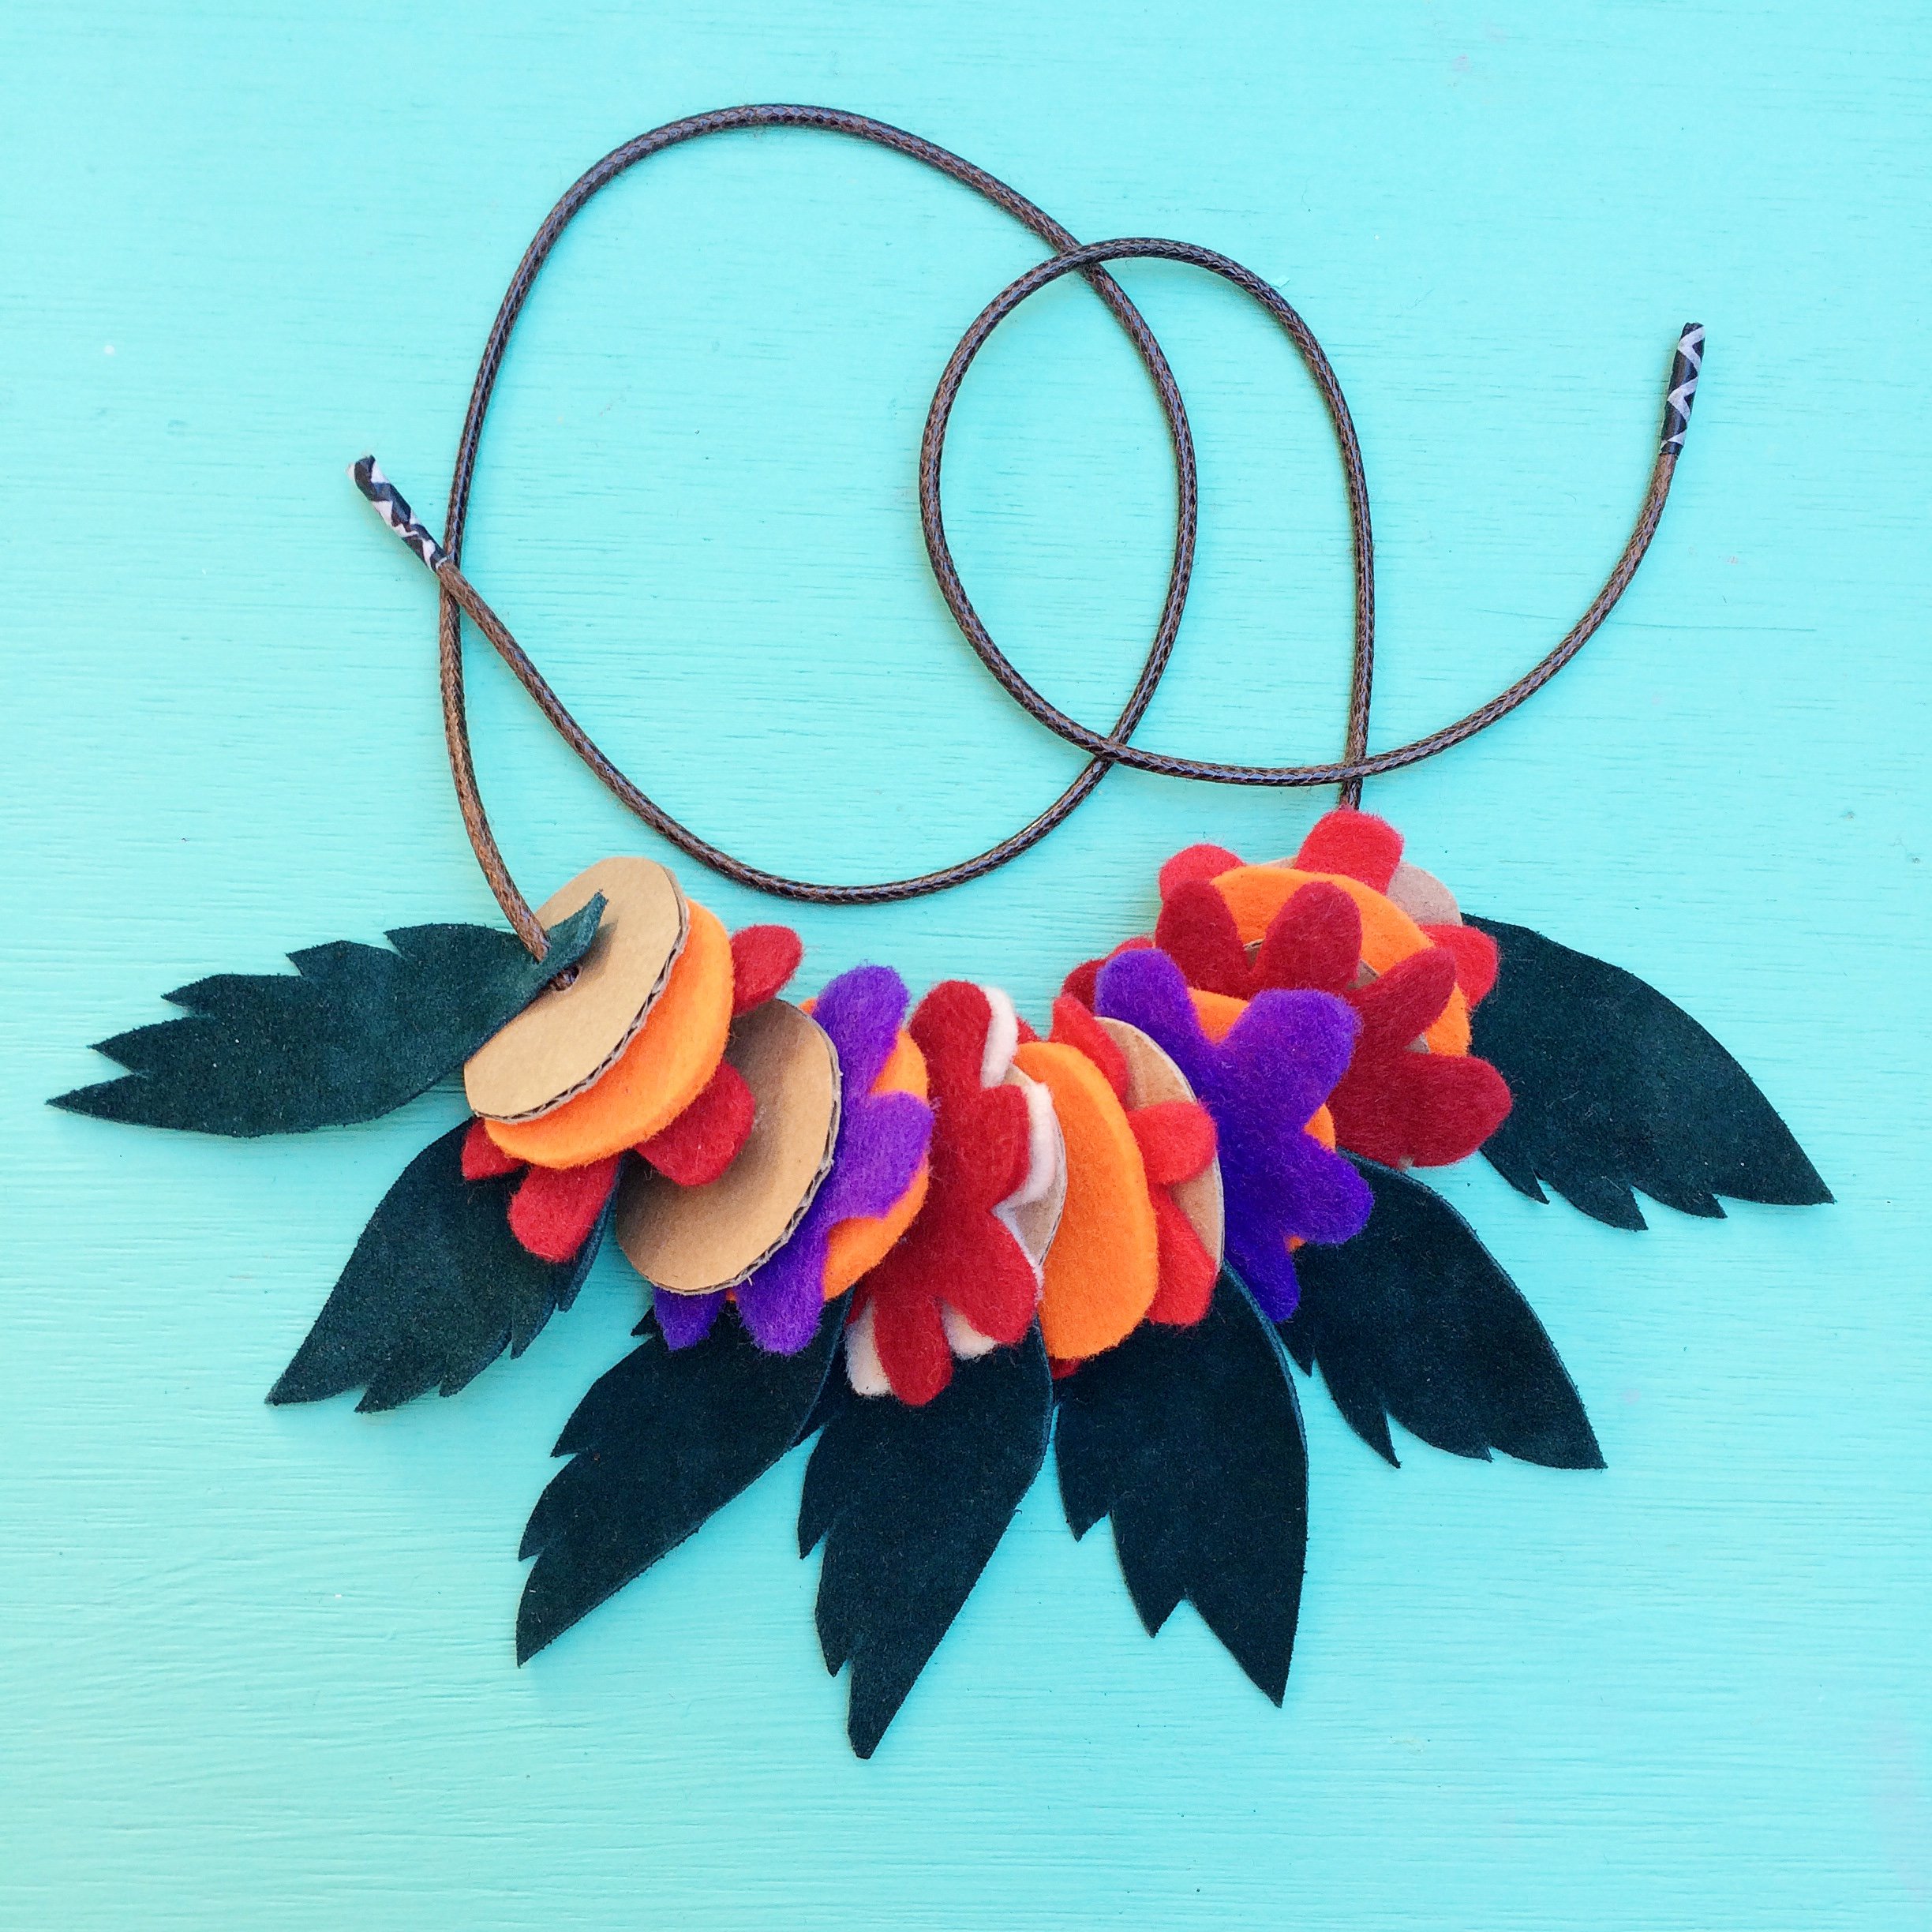
felt necklace

Felt is one of those materials that for me always teeters on the edge of daggy land. It does however have some pretty excellent qualities which makes it hard to go past for crafting all together. For starters, it is easy to cut, AND it doesn’t fray! It is also cheap and comes in loads of colours.
This is a simple jewellery project that can be adapted to suit most ages. It was initially inspired by Creating Creatives and their fun Hawian paper lei! Younger kids could cut abstract shapes and an adult could punch the holes, and older kids could experiment with a variety of shapes and designs. We used waxed cord for the thread but you could just use wool or any thread you have at home. You could even try using one of those large plastic embroidery needles to thread on the shapes.
In this project I used leather scraps for the leaves because I happened to have some but if you don't have leather just replace with more felt or cardboard.
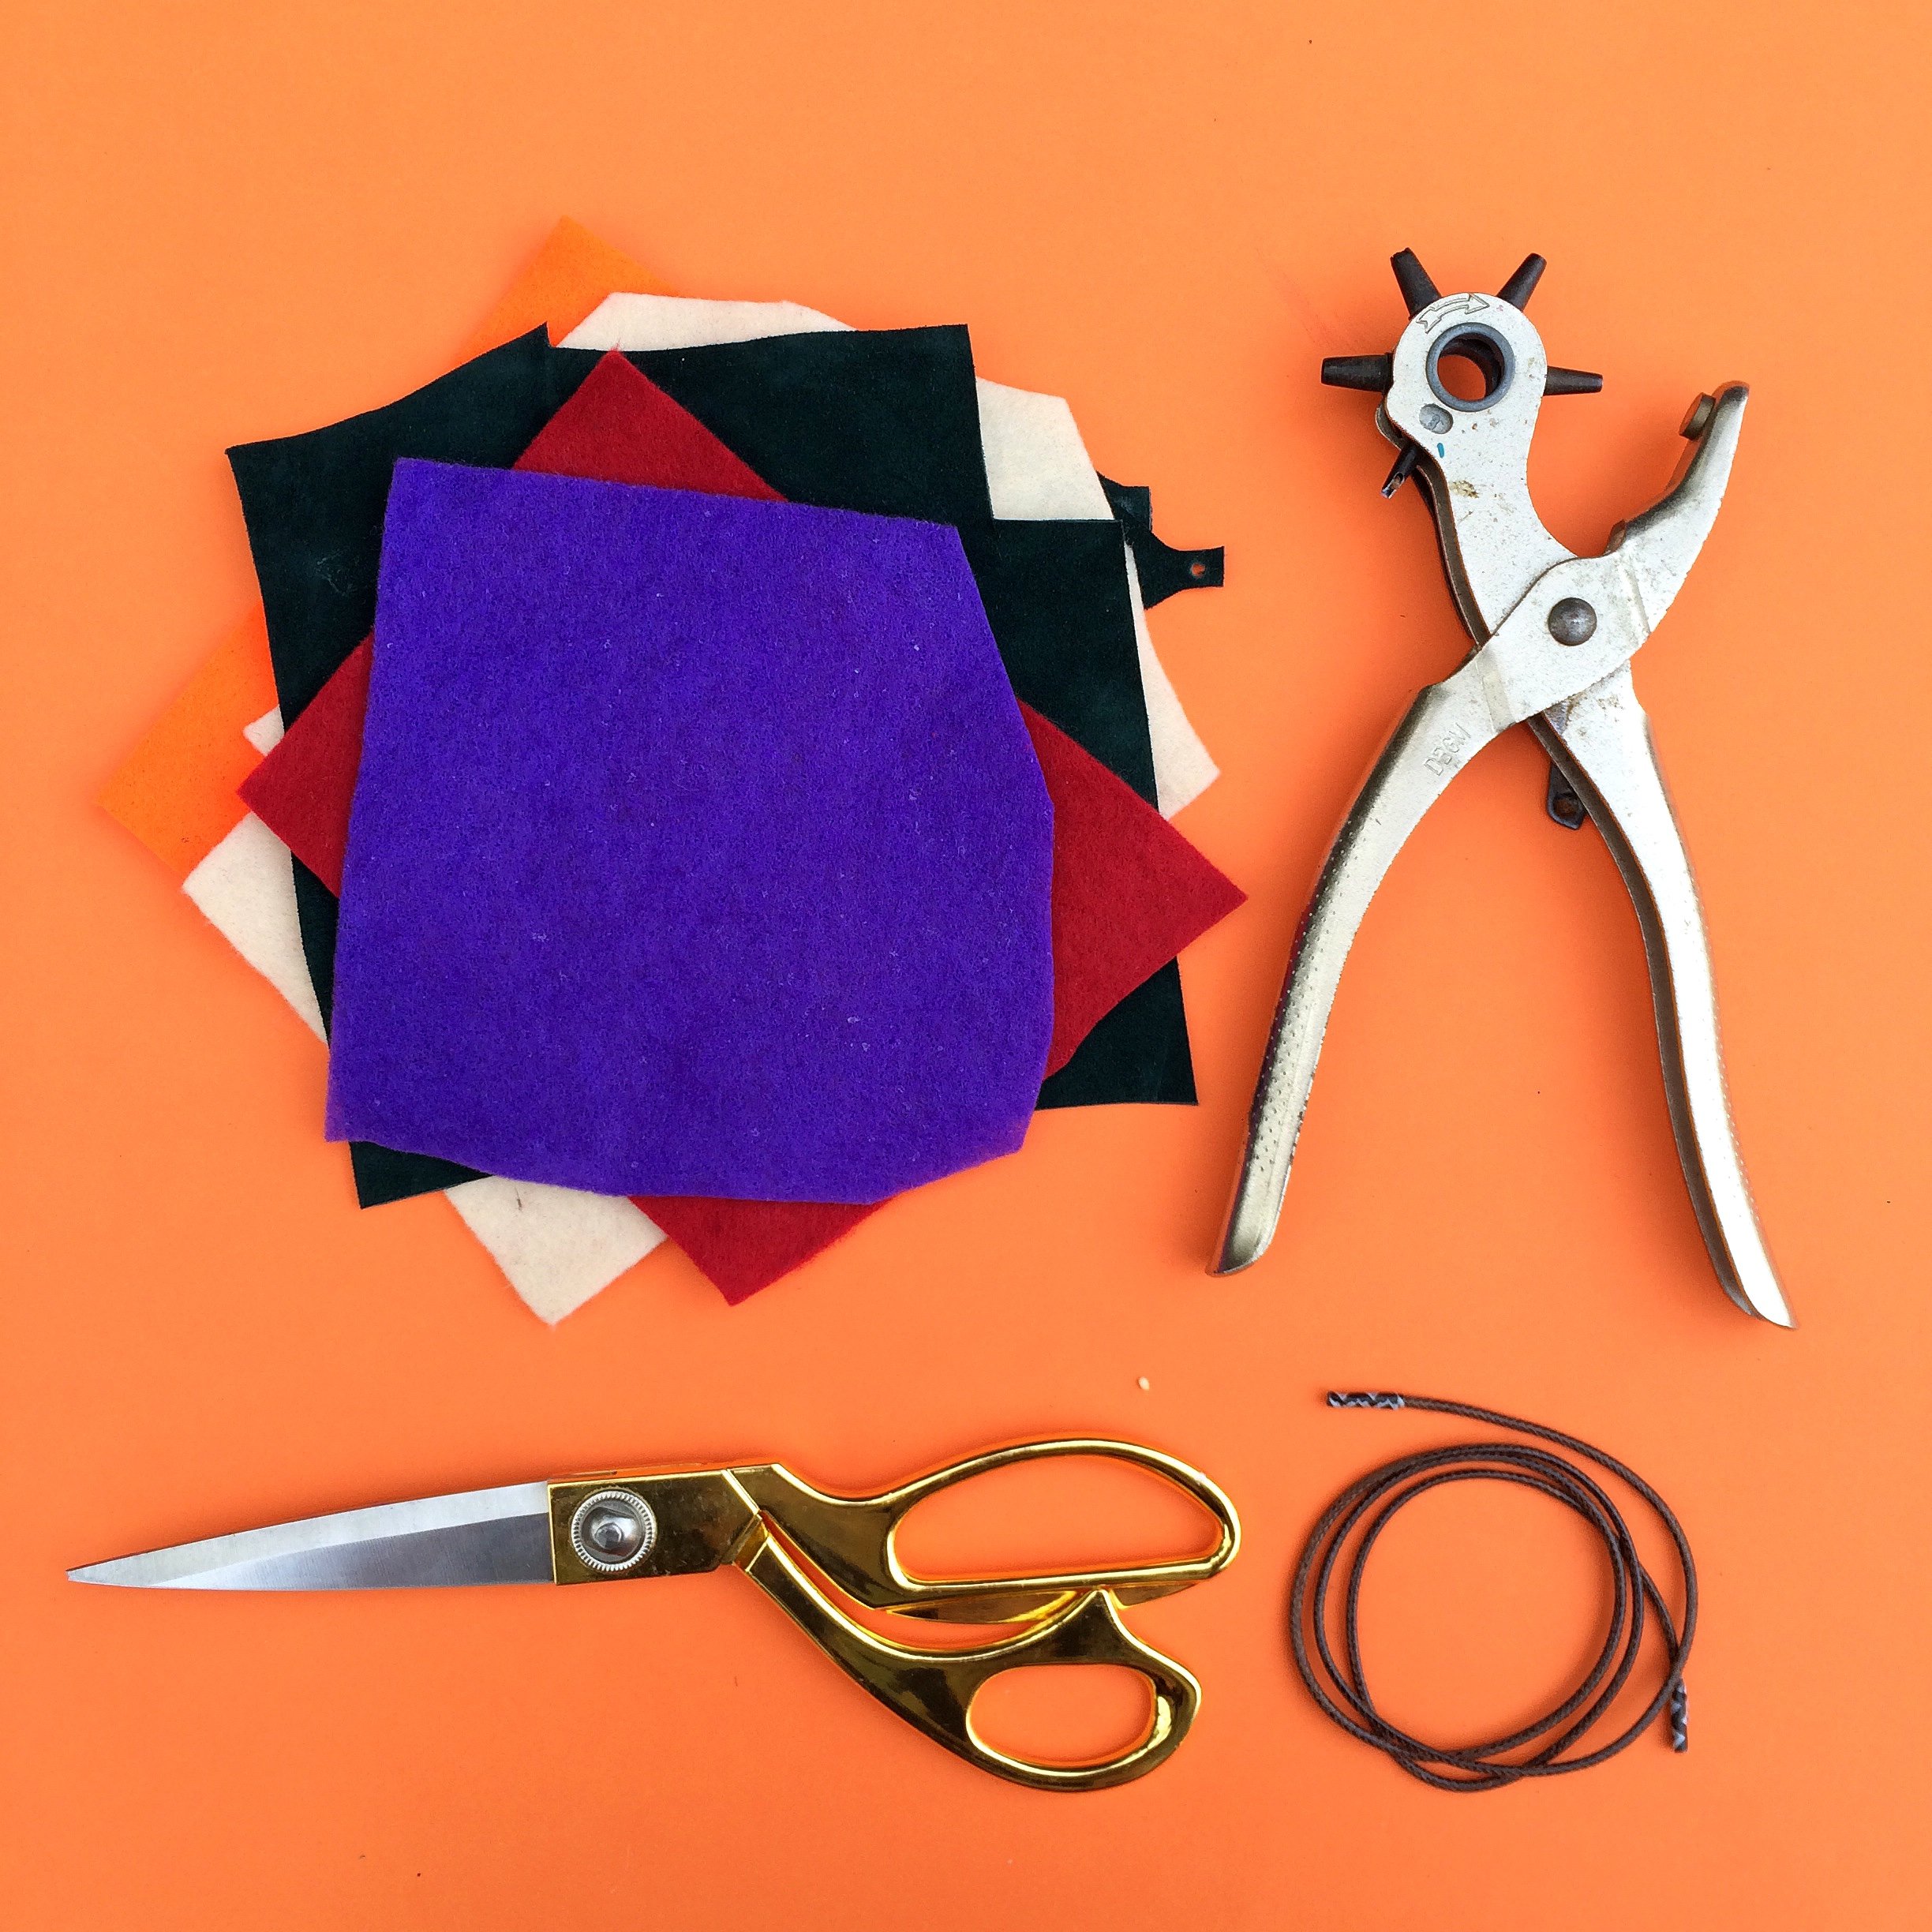
what you need
- Felt (and or leather) in a variety of colours
- Scissors
- Hole punch (if you don't have this you can just fold up your shapes and cut a small hole)
- Thread
- Cardboard
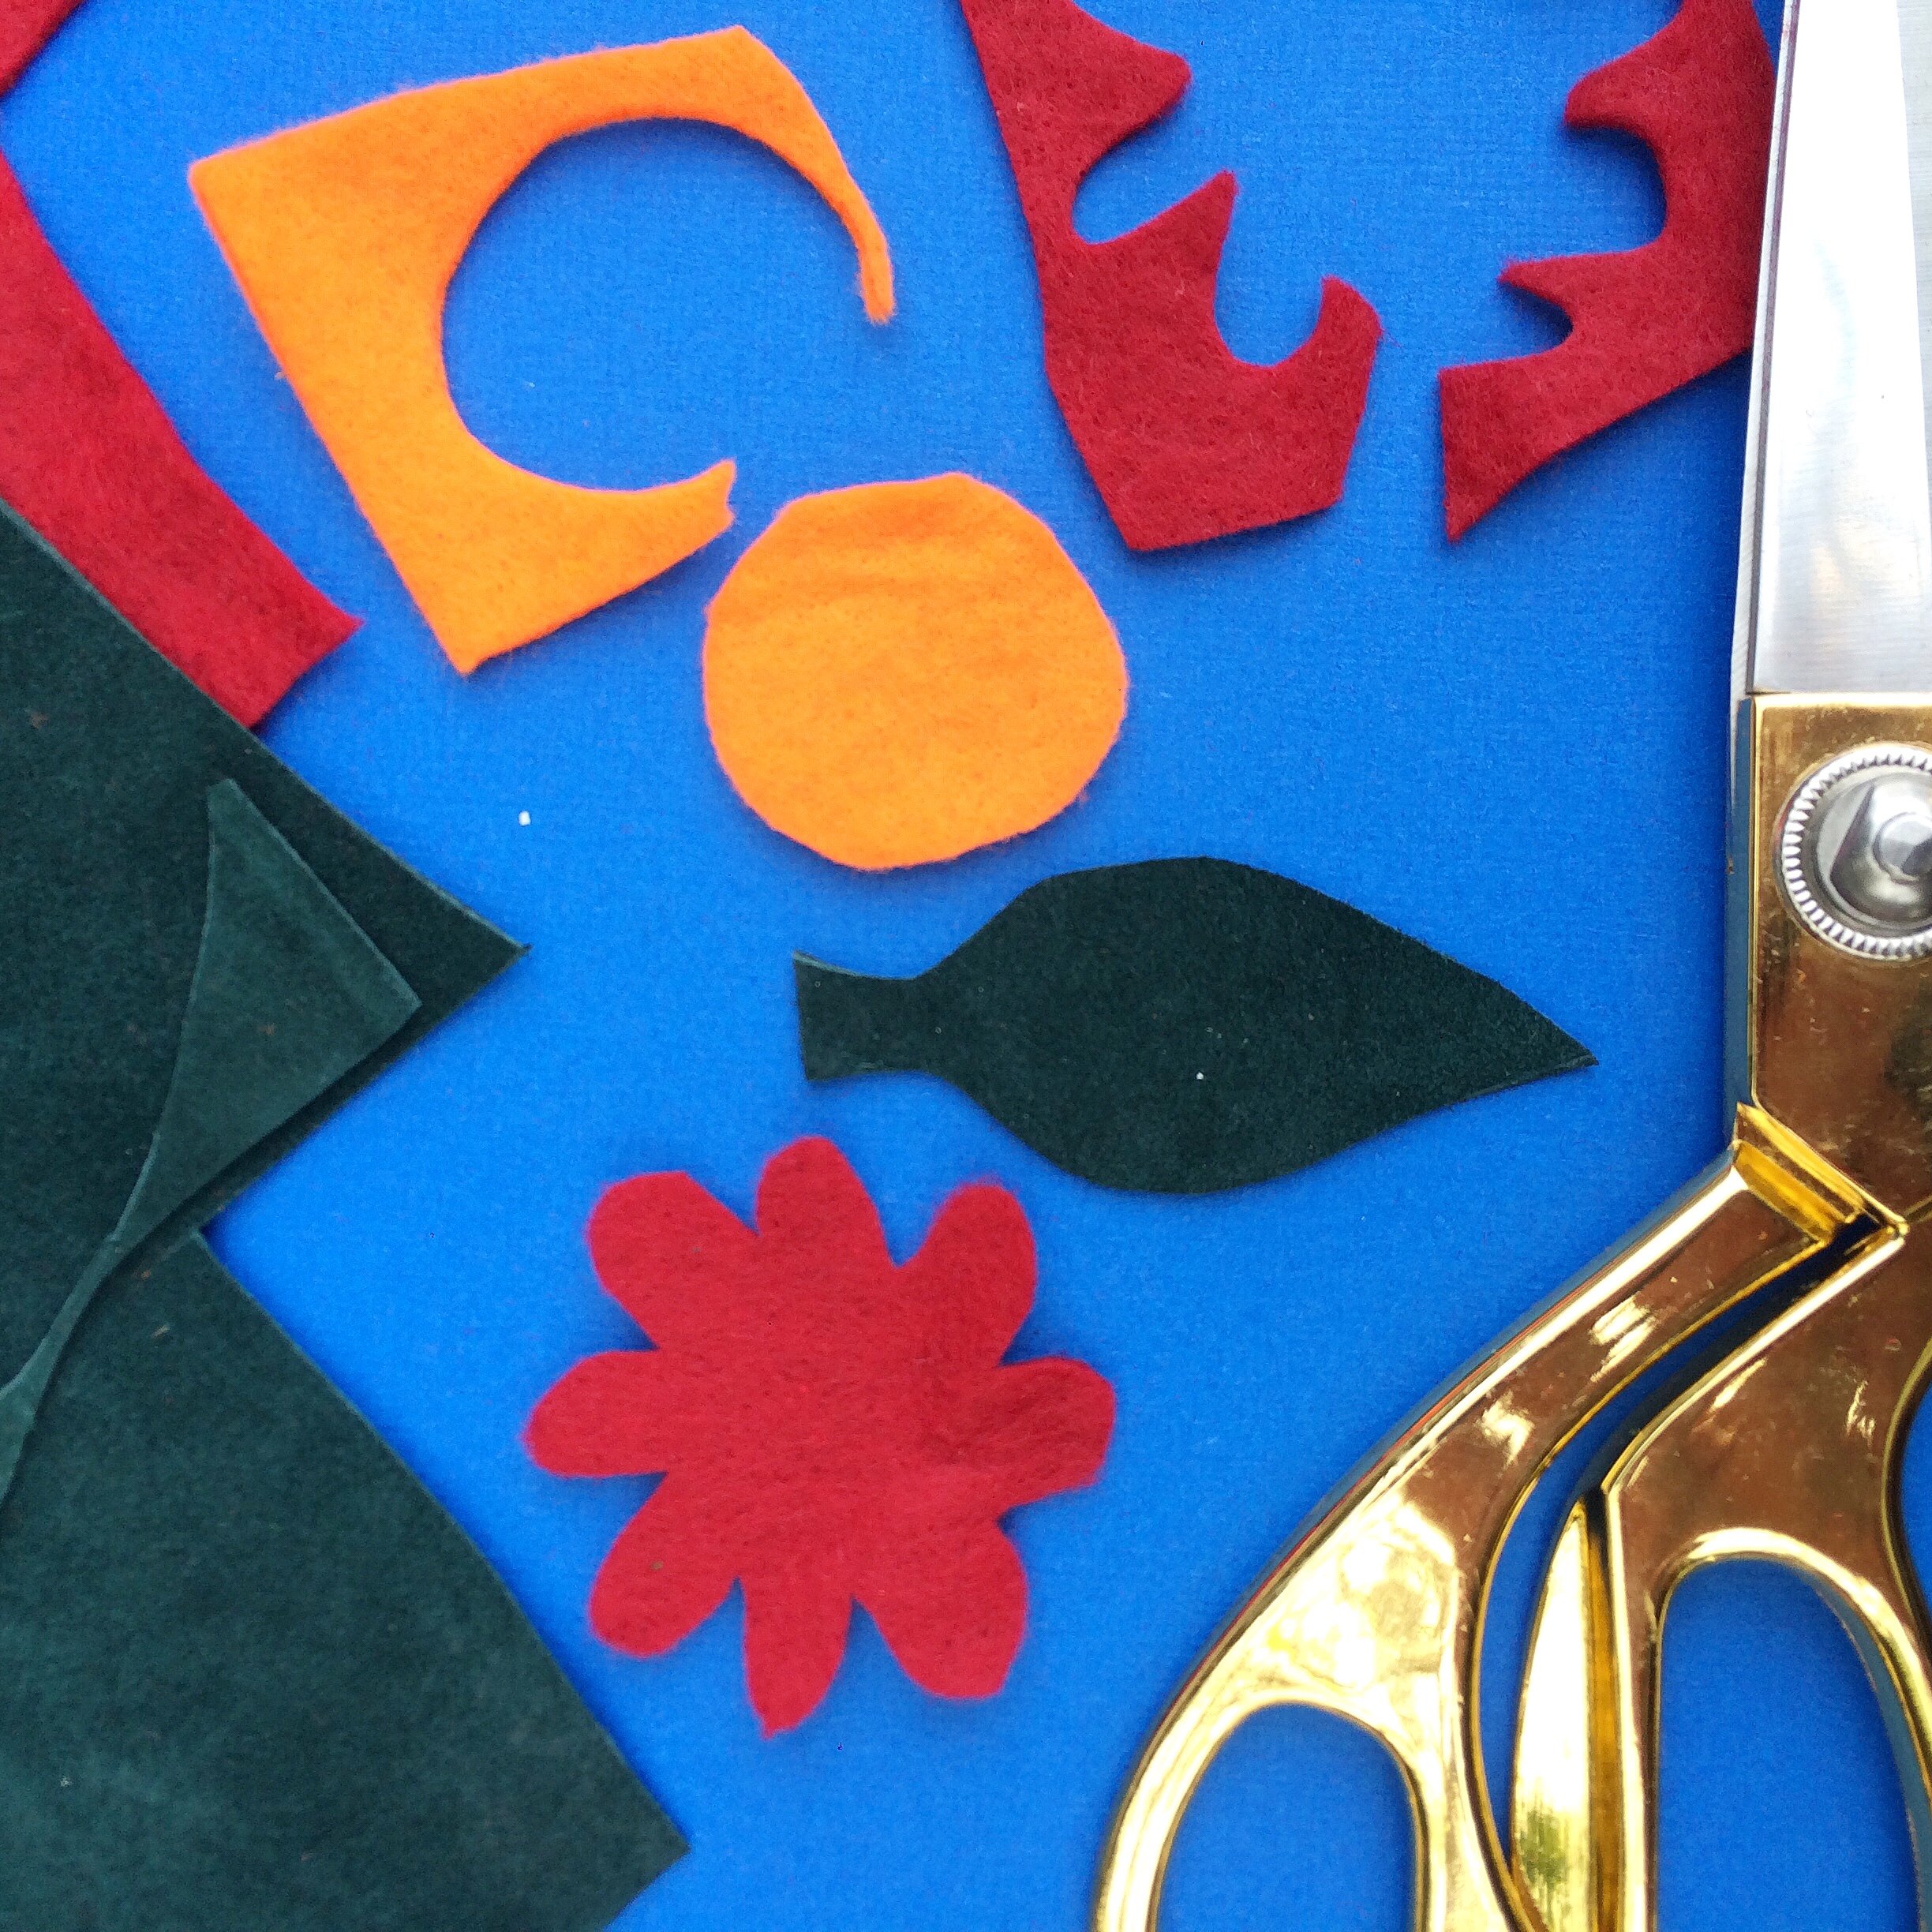

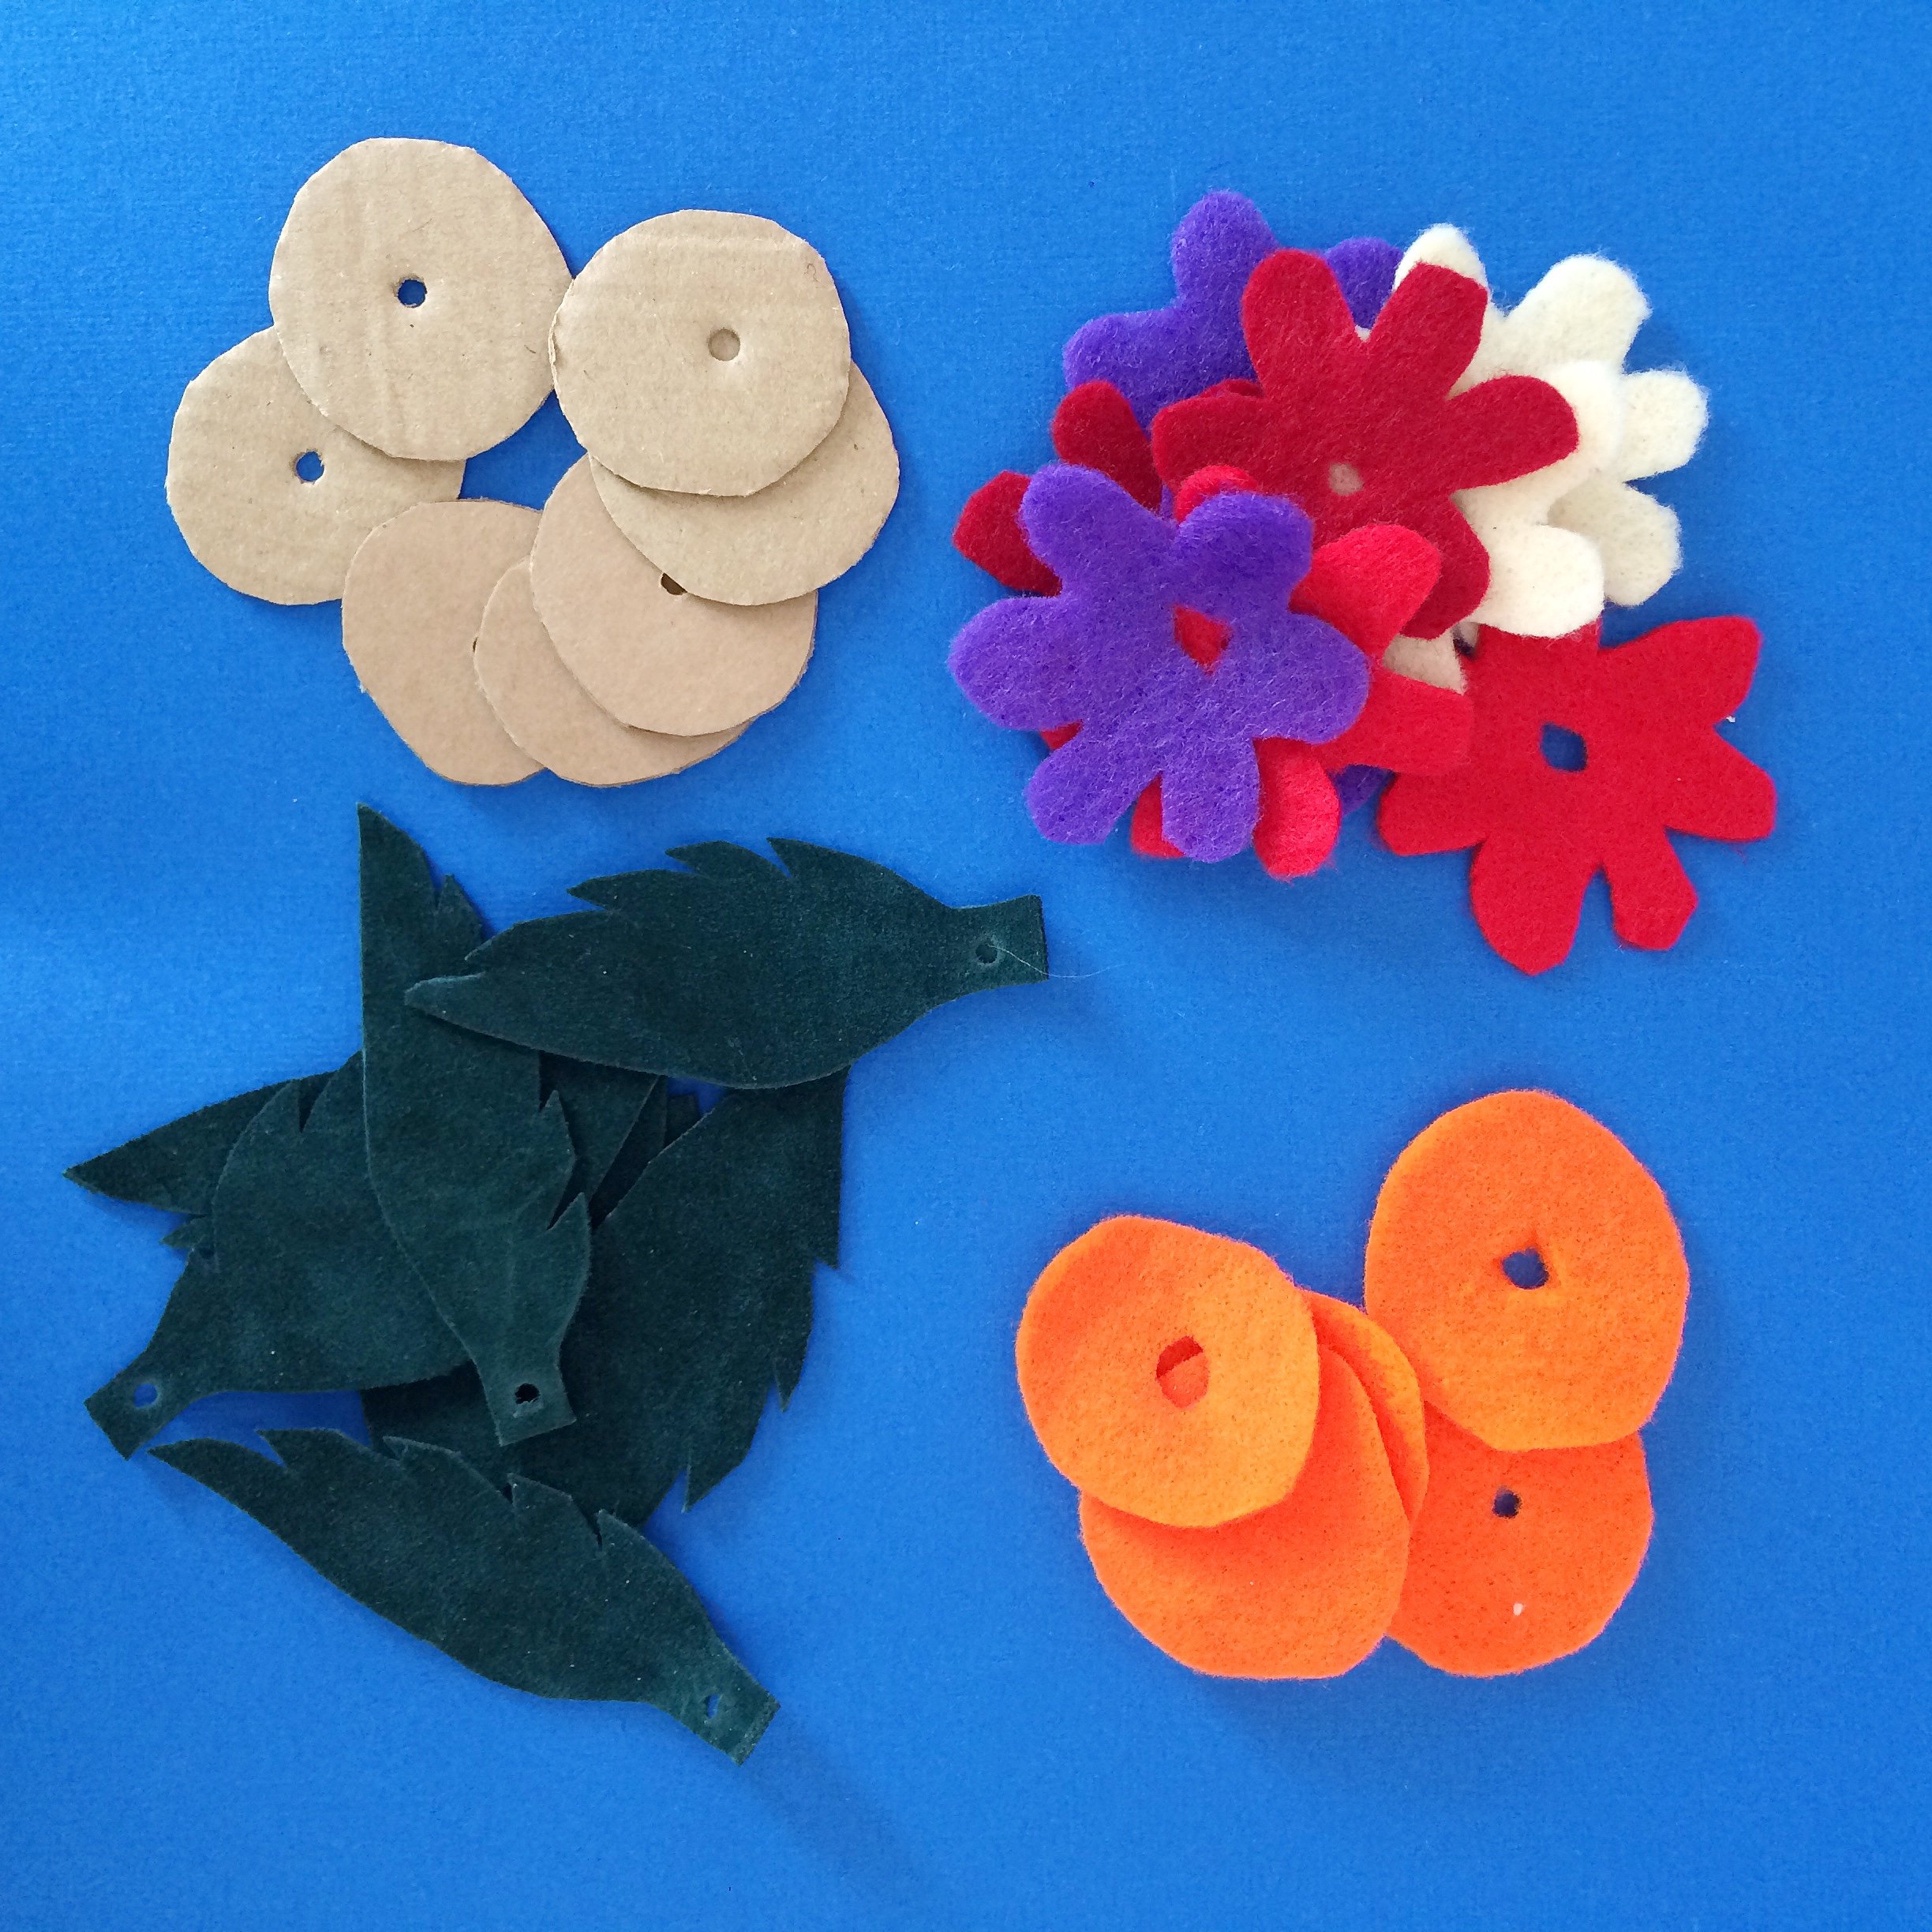
1. Cut out a series of circles, flowers and leaves from your felt or leather. I used felt for the flowers and circles and leather for the leaves. Just use whatever you have easiest access to. I like things to be a bit irregular, but if you want the shapes to be all the same, you could draw your shapes onto some cardboard first and then cut them out to use as a template. The quantity is up to you but I cut 7 leaves, 8 flowers and 5 circles.
MODIFICATION FOR YOUNGER KIDS: Cut any shape at all!
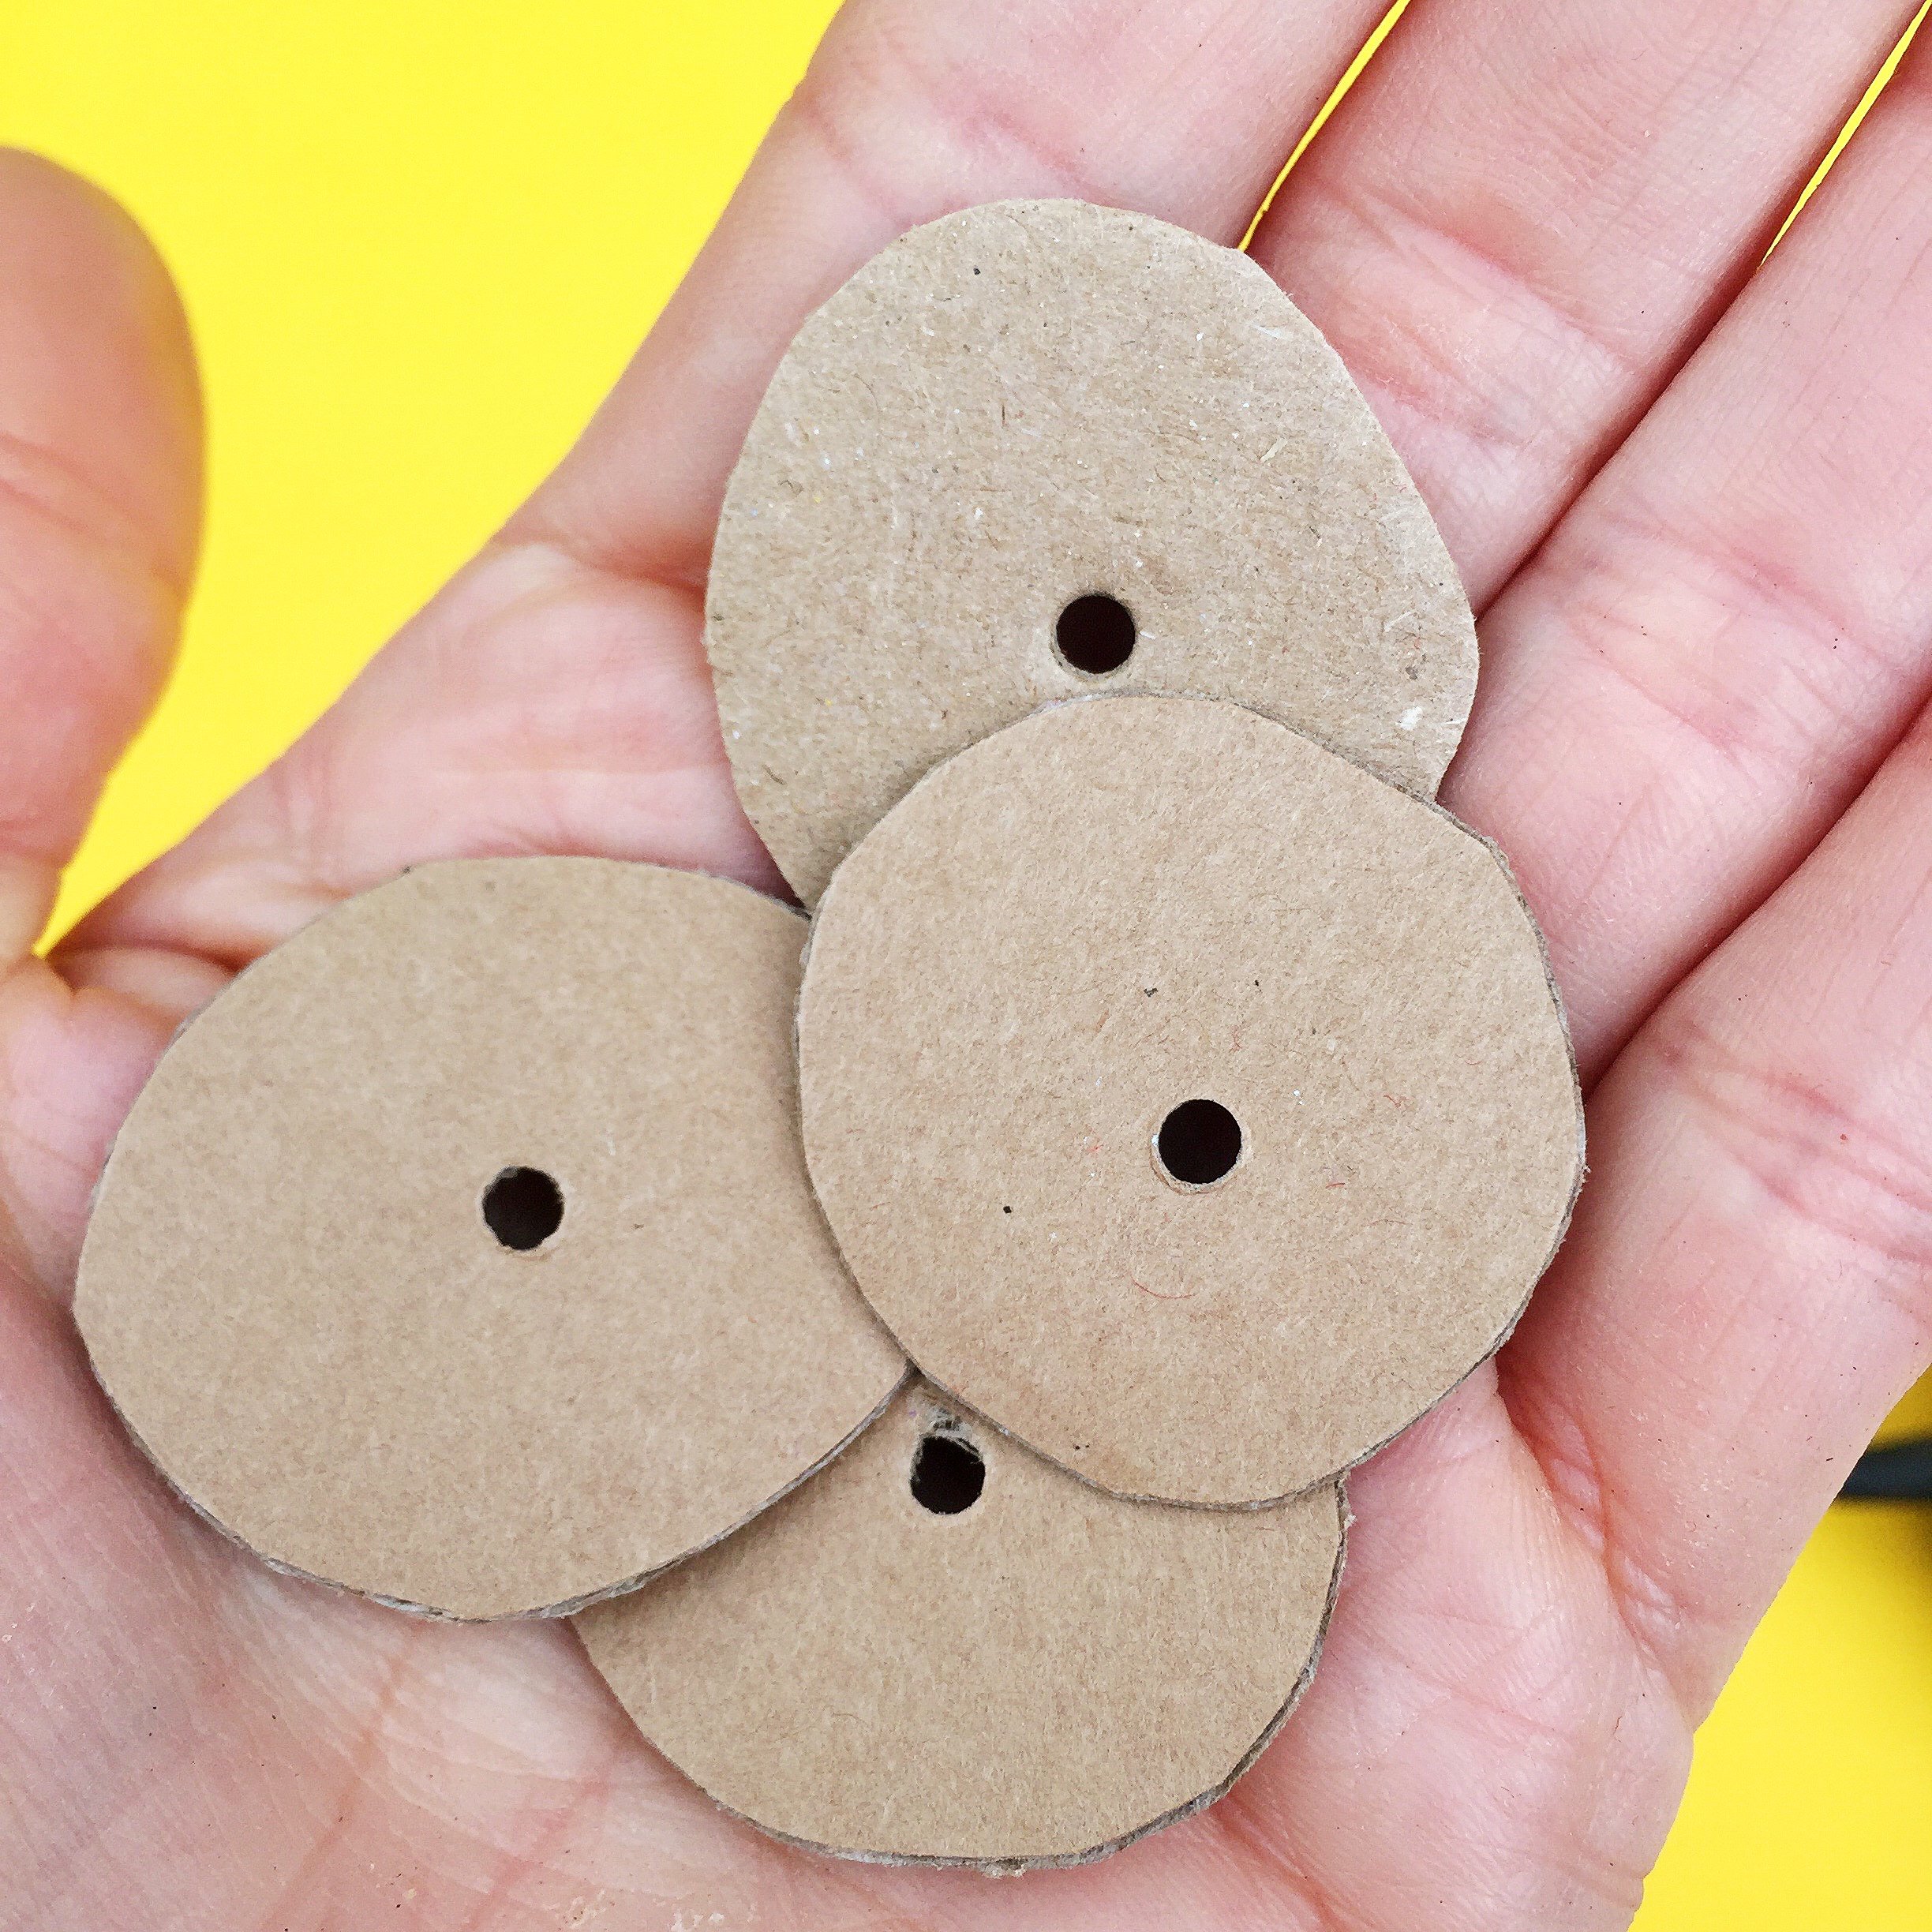
2. To mix it up a bit, cut out some circles from cardboard roughly the same size as your felt ones.
3. Punch a hole in the center of each of your shapes. If you don't have a leather punch or a small hole punch you can just fold the shapes and cut a mini hole from the center. I did a mix of both. This is an adult job though as its a bit fiddly.
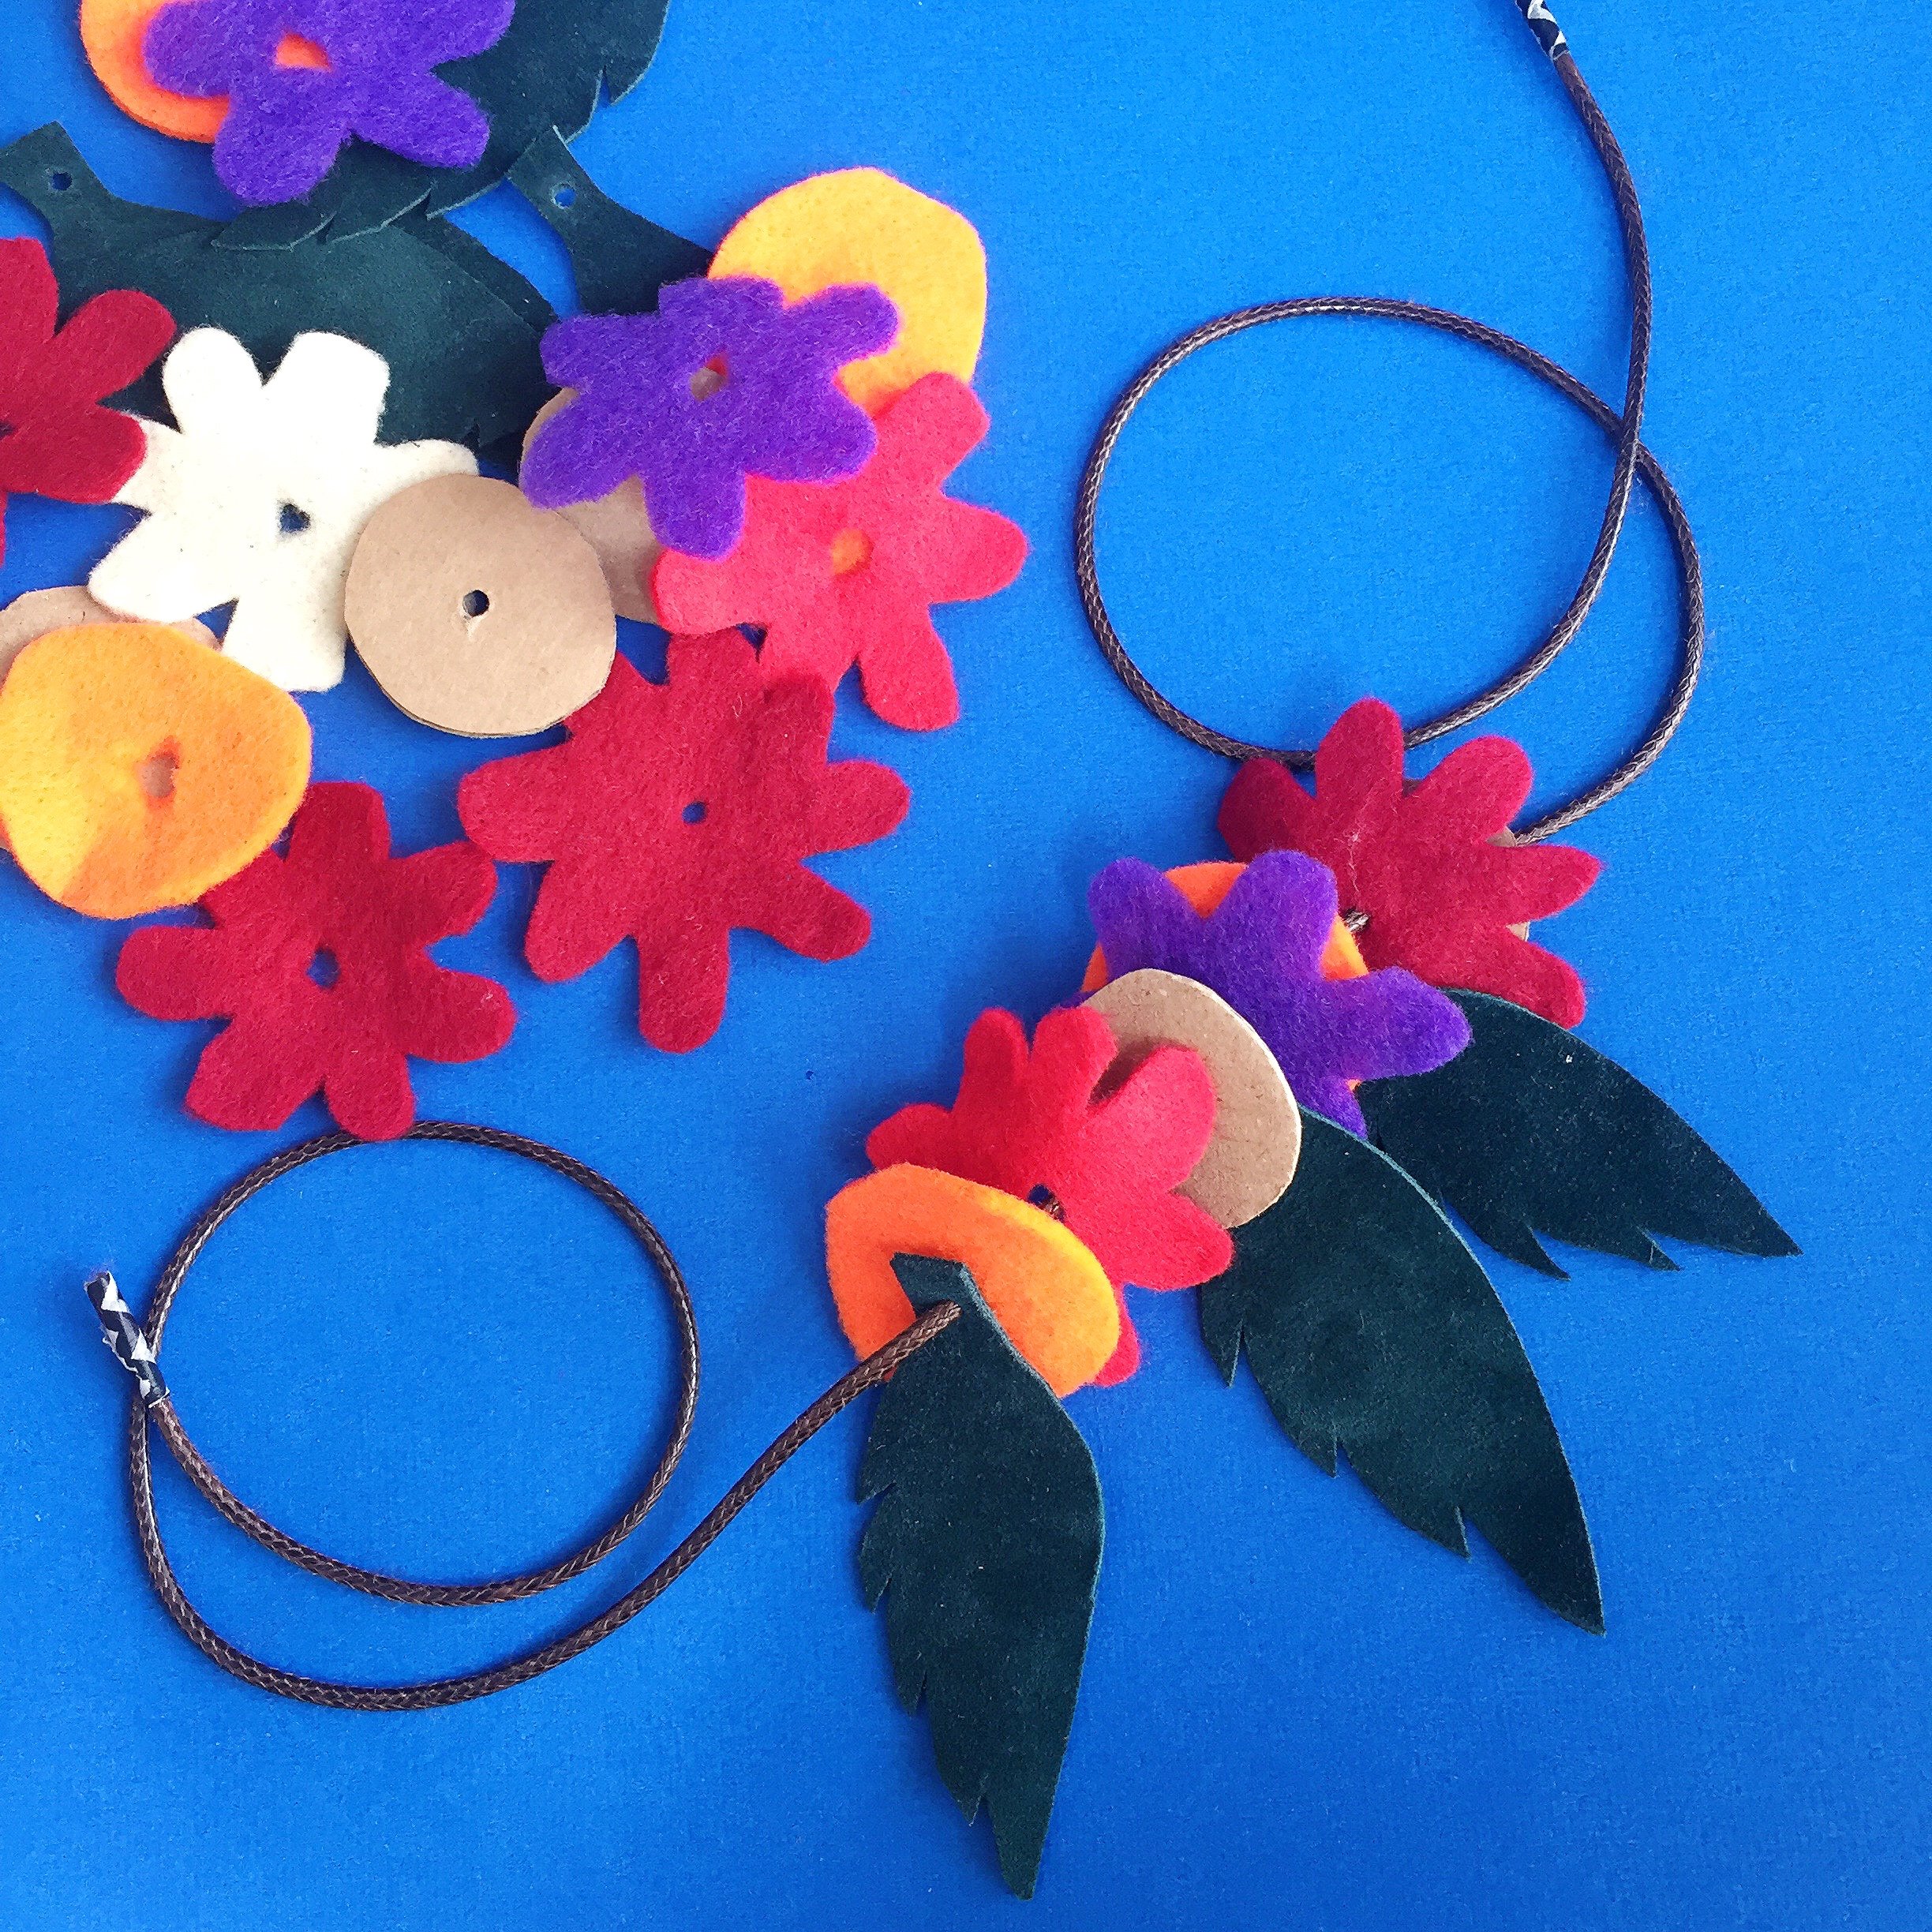
5. One you have all your pieces ready, thread the shapes onto your thread. If you cord is fraying at the ends just wrap a bit of sticky tape around the end, this will make it much easier for little fingers too. For younger kids, use a softer thread and one of those big plastic embridery needles.
6. All done! Now tie it on and enjoy!