


strawberry cushion

We are lucky enough to live in a house that has a whole patch of strawberries that grow every spring. This patch has nothing to do with me as it was planted by the people who lived here before us, but it really is one of the best things about the house. As long as the birds don't get to them first, we can generally harvest a few punnets a week. It's nearly Spring in Sydney so I have strawberries on the mind...
Now this tutorial comes with a bit of a disclaimer. I am not really a much of a sewer. I can fudge my way though, but know zero about the mechanics of my machine and posses no sewing lingo. What follows is basically a series of fake it till you make it experiments I went though as I attempted to bring the big strawberry cushion in my mind into reality. I also made it mostly at night so the photos are a bit dodgy. Have I sold it yet???
I made this with things I had at home so as usual in my projects, feel free to improvise!
What you need
- An old pillow case or about a meter of cheap white fabric.
- Liquid water colour
- Red fabric paint
- Green velvet (or any kind of green fabric)
- Thread
- Stuffing
- A sharpie


1. Using an old pillow case, draw the shape of a strawberry with a marker or pencil. Use up as much of the fabric as you can to make a nice plump strawberry.
2. Cut out your shape using good fabric scissors.
3. Lay over some velvet and cut some greenery to fit the top of your berry.


4. Wet the fabric and sprinkle on some red liquid water colour. Squeeze it so it penetrates the fabric. This is TOTALLY OPTIONAL, and to be honest, super messy and probably unnecessary.
5. Water down some red fabric paint and brush it over the strawberry. Leave to dry
6. Iron your fabric as per the instructions on your fabric paint. If we are being totally honest, I didnt do this step as I was very impatient. Time will tell how I will pay for that mistake!


7. Sew on the green leaves to the strawberry sides. I glued mine in place first and then used a small zig zag stitch that seemed to work nicely on the edges.
8. Lay the strawberries on top of each other so the leaves face into the middle. Pin together to hold,and sew almost all the way around. Leave about a 5cm hole. I used a zig zag stitch to over lock the edges just to give some extra support.


9. Turn the cushion right side out and fill with stuffing. If you have helpers like me this will enevitably end in a faux snow fight.
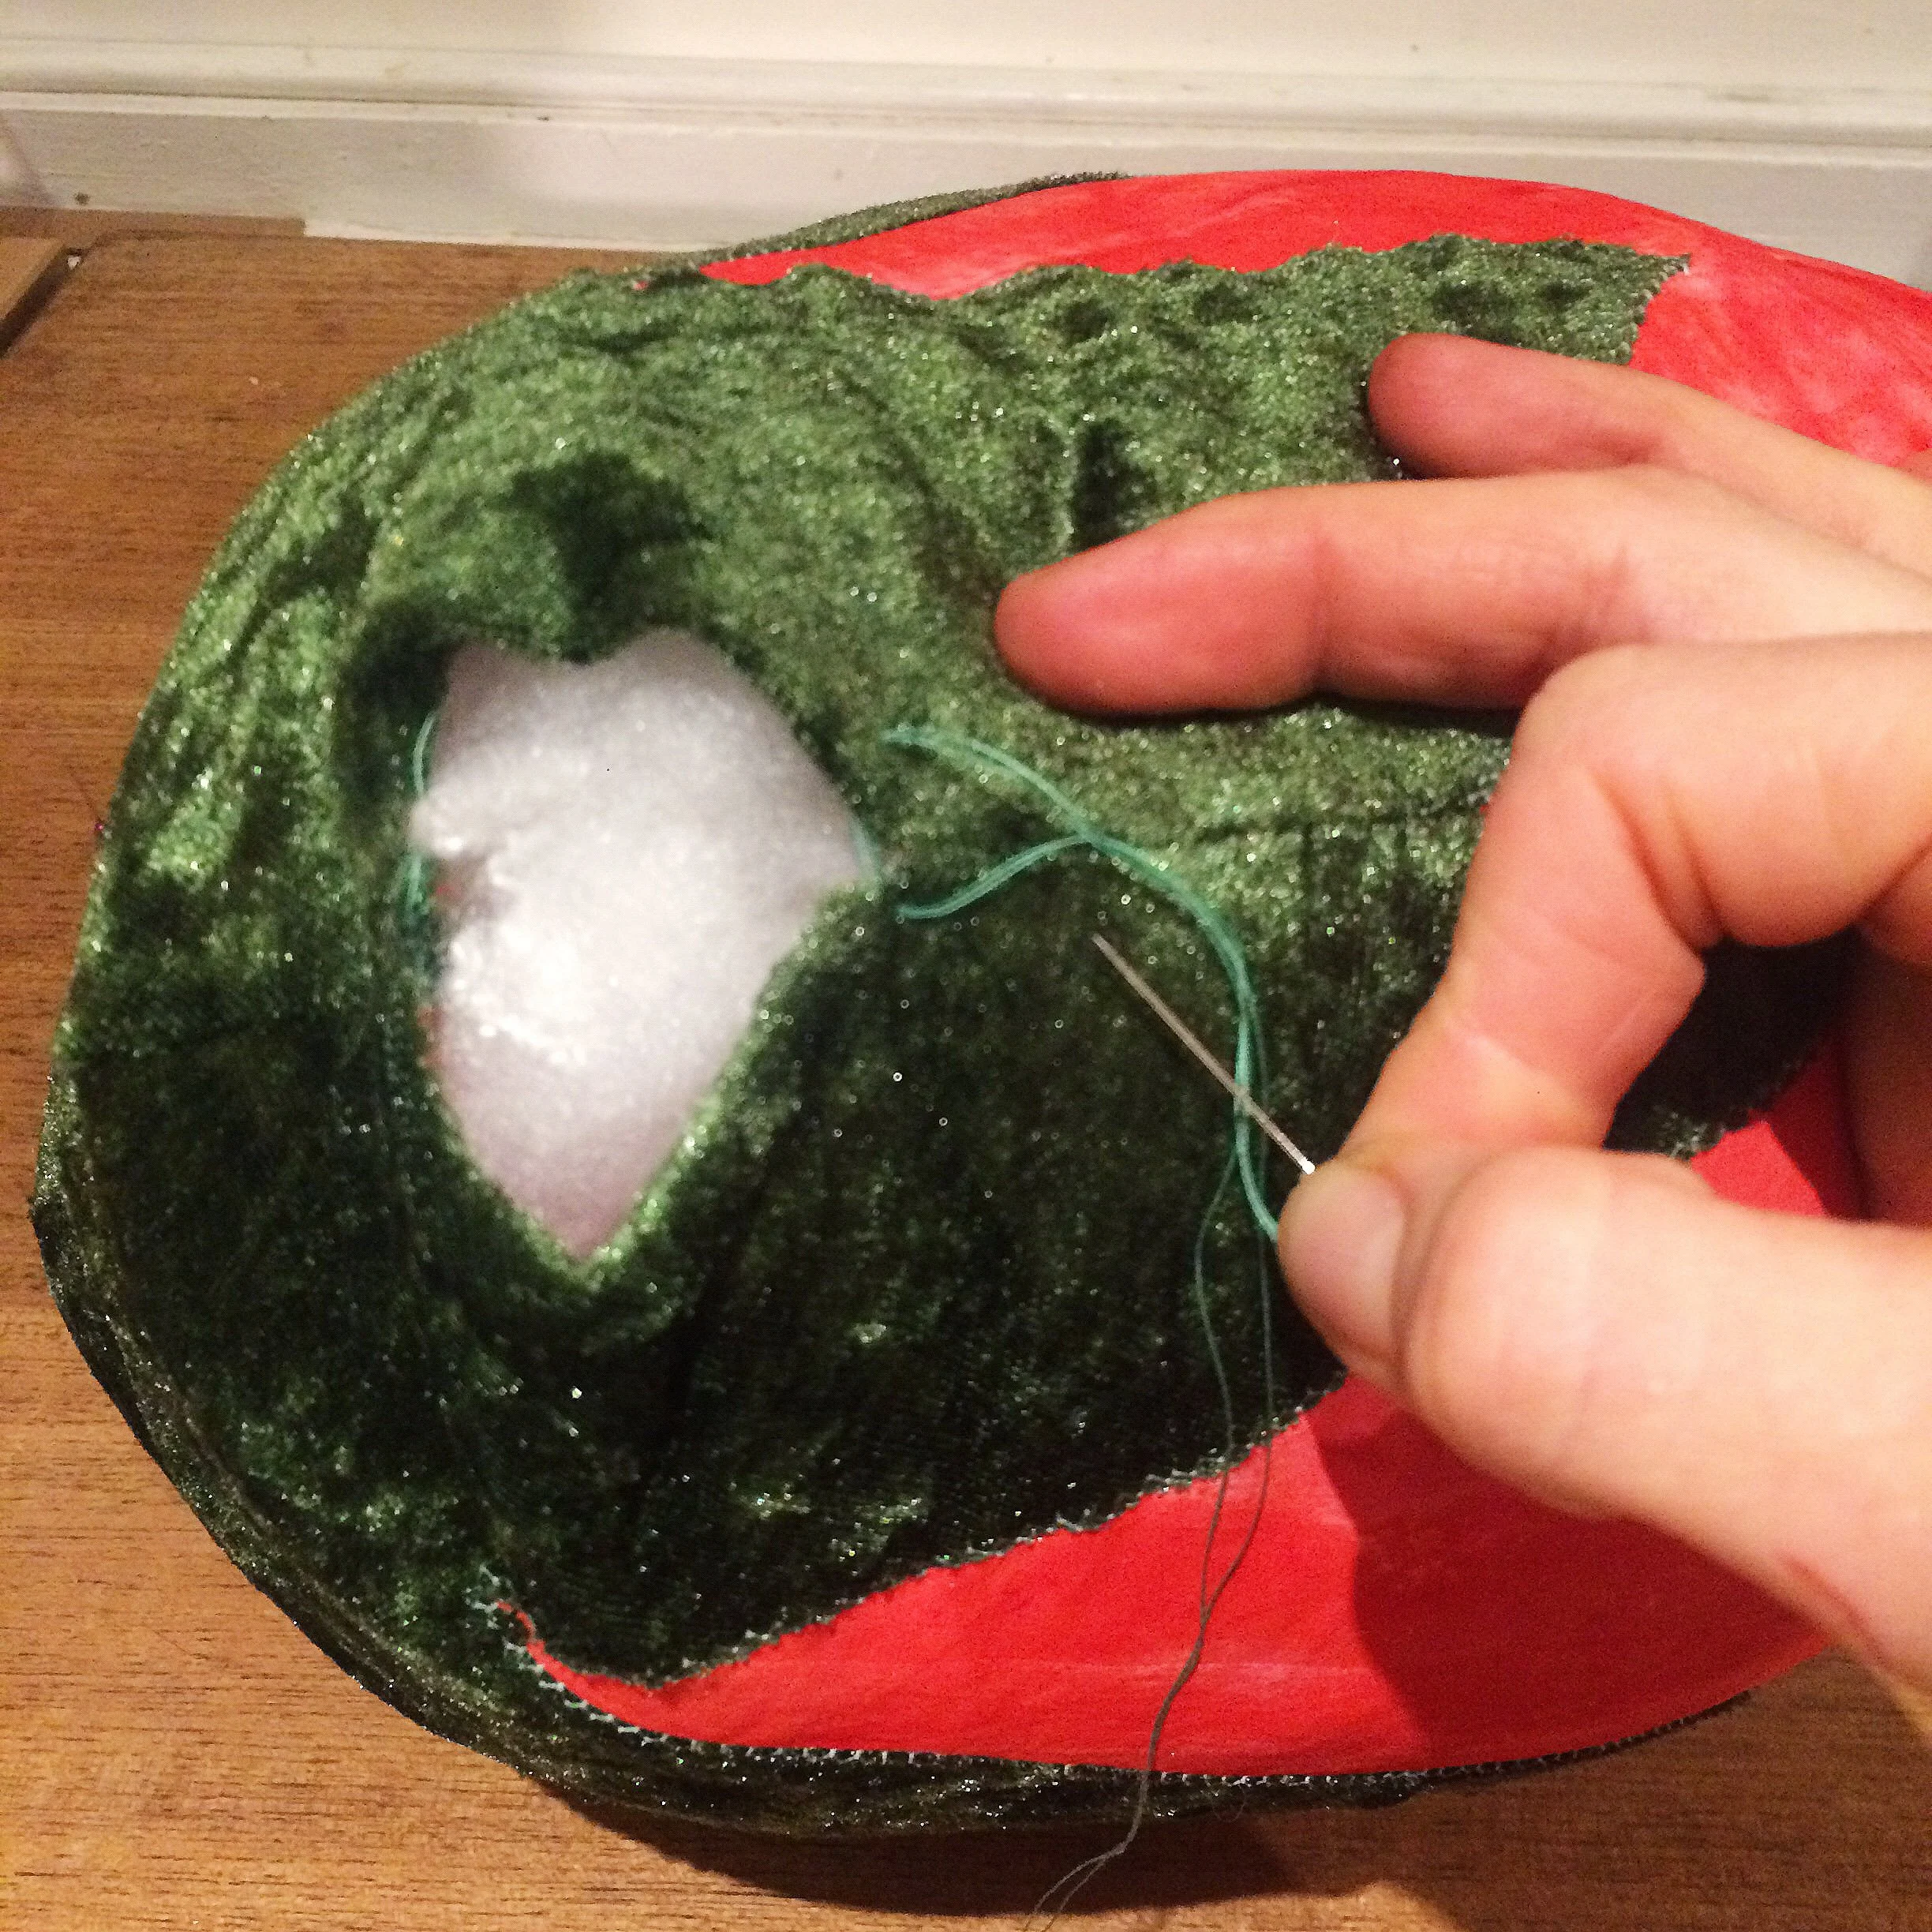

11. Once it is nice and plump, hand sew the hole closed.
12. To finish draw on some small seeds with a sharpie.

